

By default, all commands in this tutorial are executed on the
local machine. If you are using a remote machine, you must specify it explicitly using the @<machine_name> syntax. Getting Started
In this tutorial, you will:- Initialize the GRID Enterprise platform.
- Set up and start a GRID session using the AirGen simulator using the CLI.
- Access the simulation, and write some sample code to capture and visualize data.
- Stop and terminate the session.
Setup and Initialization
Step 0: Ensure prerequisites
Before starting this tutorial, ensure that you have GRID Enterprise installed on your local machine. If you haven’t already installed GRID Enterprise, refer to the installation guide for detailed instructions. After installation, please make sure your ‘resource configuration’ file is set up correctly - you should have received this file during onboarding.Step 1: Initialize the GRID Platform
The first step is to log into the GRID platform and initialize the containers. Open your terminal and run the following command:Show Expected Output
Show Expected Output
login and then initialize the containers using init.
Show Expected Output
Show Expected Output
If the containers do not already exist, the images will be downloaded, and the containers will be started. Please note that this process may take a few minutes.
Starting Your First Session
Step 2: Start Your First GRID Session
Let’s now start a session that runs a pre-configured simulation. Execute the following command in your terminal:Show Expected Output
Show Expected Output
hello_grid. Because we did not explicitly specify a session configuration, GRID will use a sample configuration file to start the session. As the console output shows, this configuration file resides at ~/.grid/sample_session_config_airgen.json.
Step 3: Open the Simulation
After the session starts, open the simulation in your browser with theopen command:
Show Expected Output
Show Expected Output
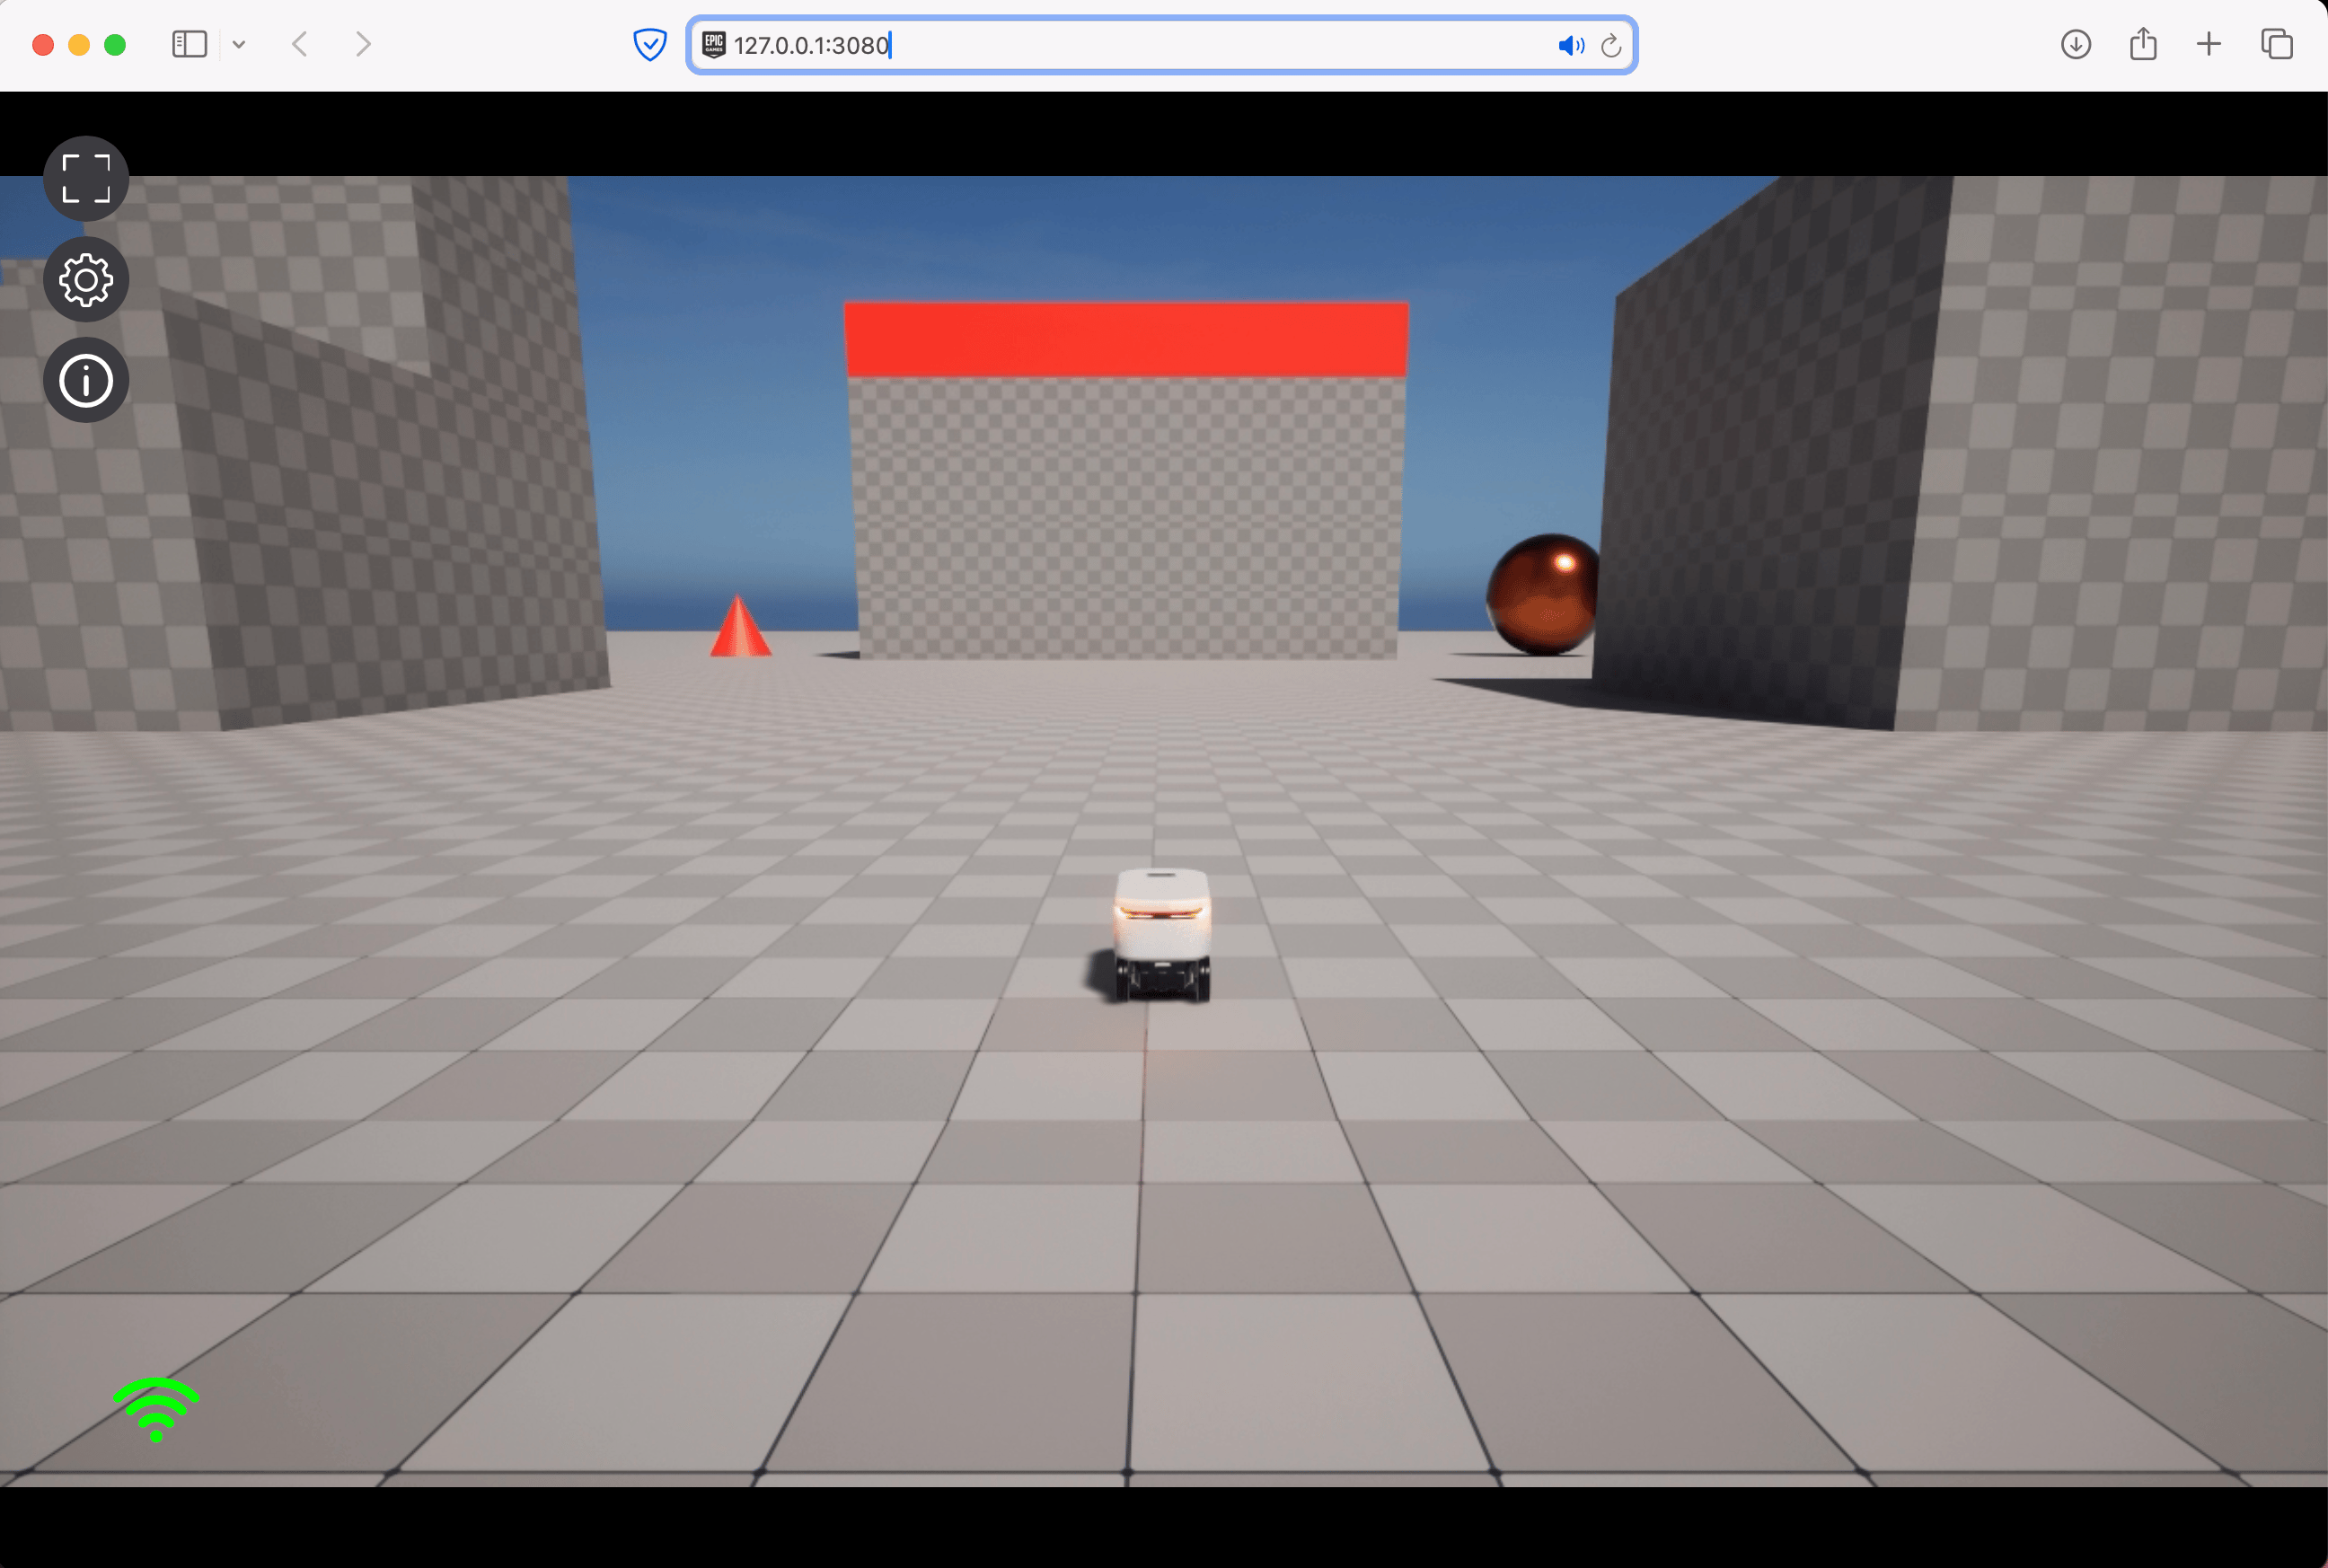
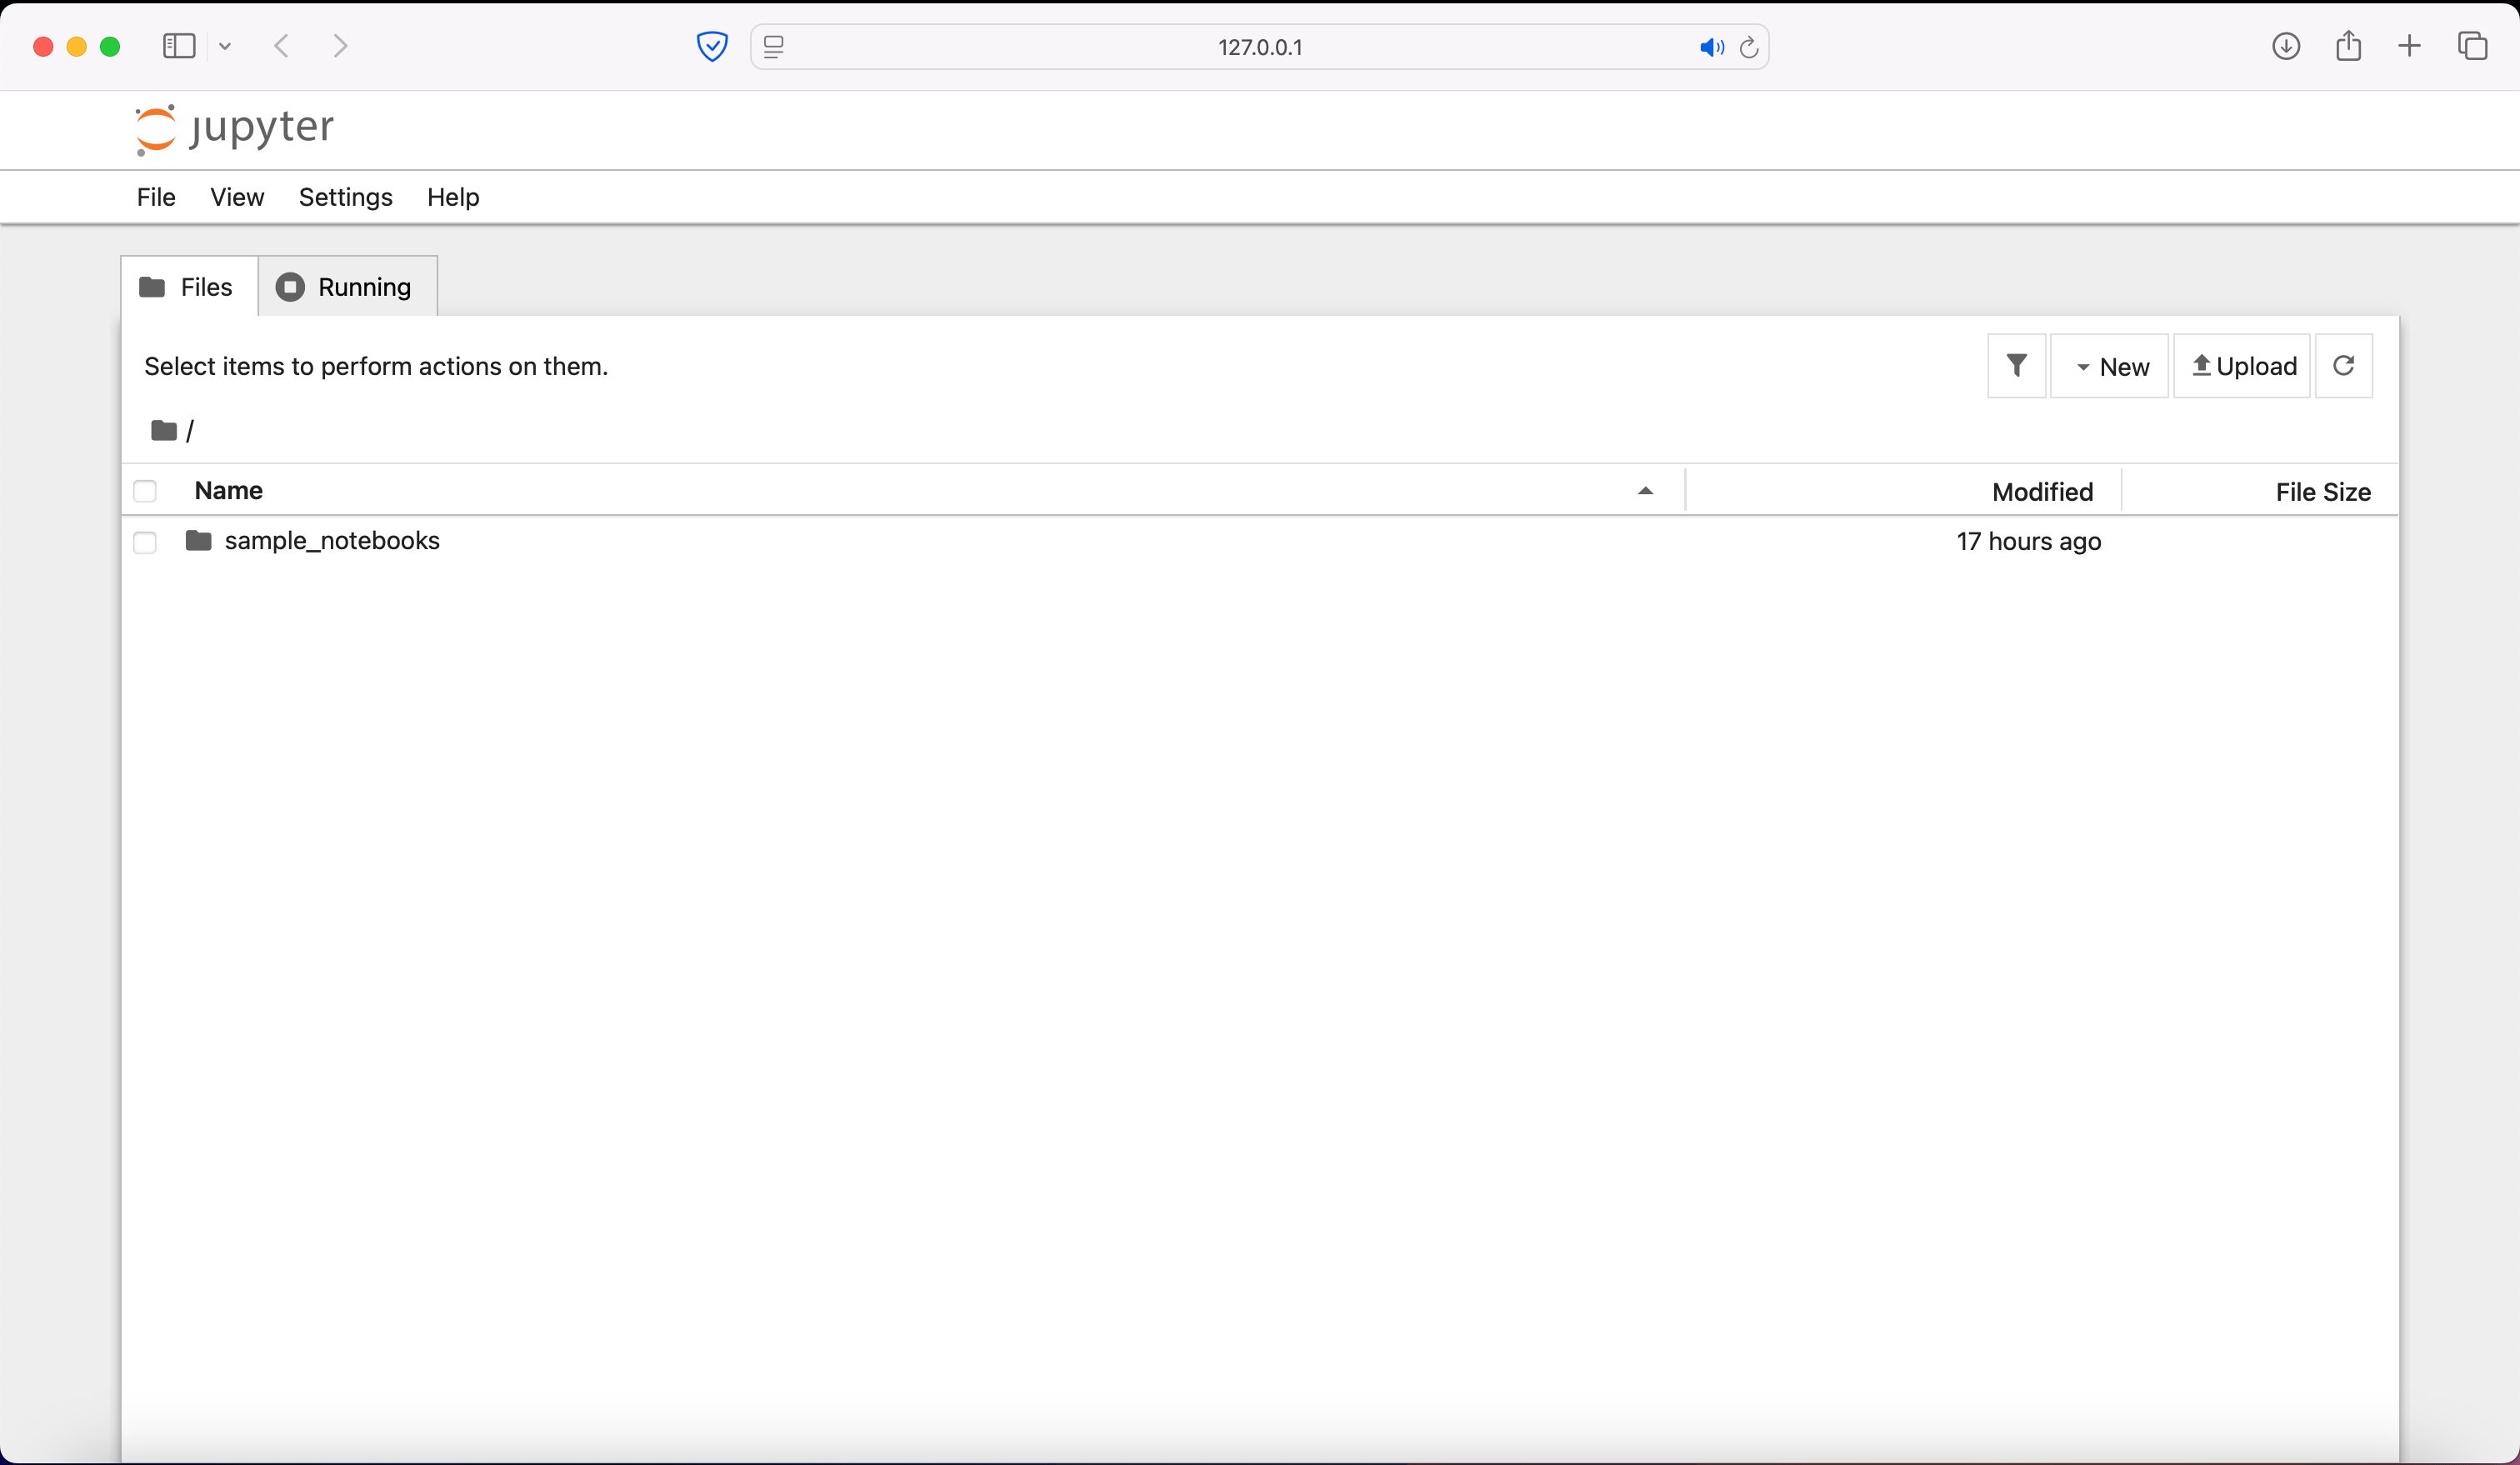
Step 4: Open the Notebook Interface
You can also open the notebook interface for the session with:Show Expected Output
Show Expected Output
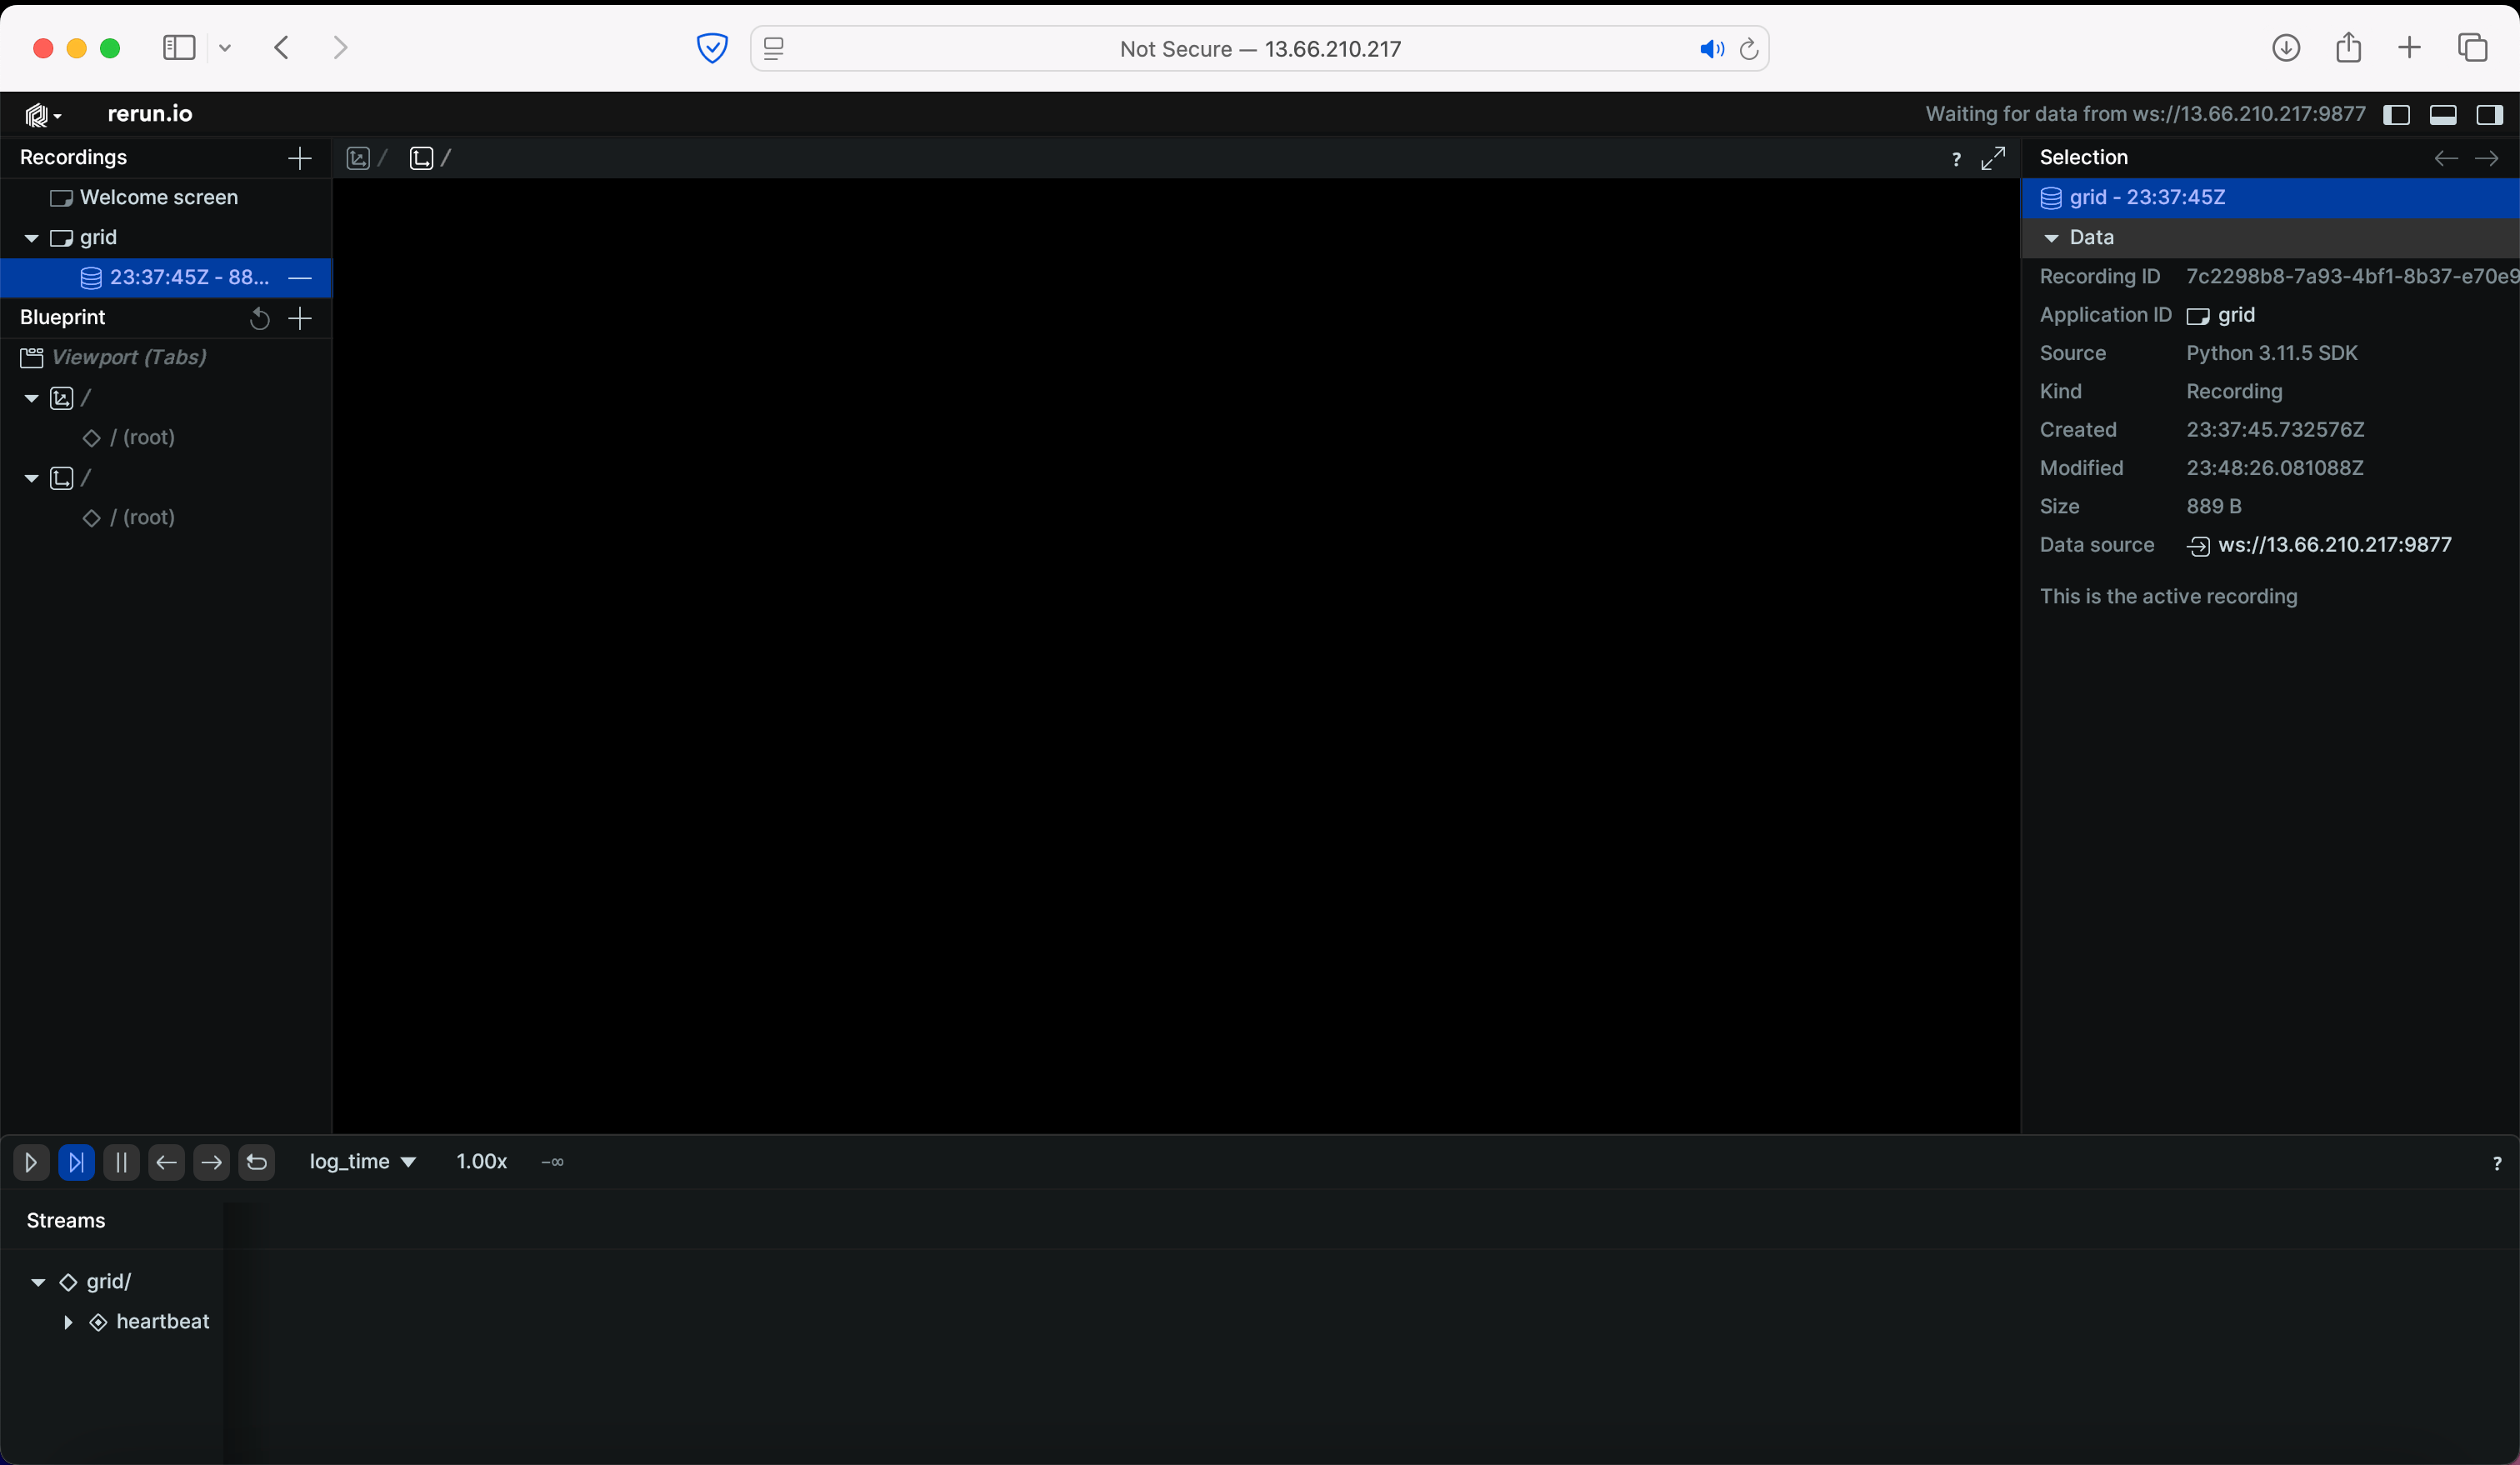
Step 5: Open Visualization
Similarly, to visualize the data using rerun, use the following command:Show Expected Output
Show Expected Output
Step 6: List Active Sessions
To check all active sessions, use the following command:Show Expected Output
Show Expected Output
Create a notebook
Now that we have the session running, let’s create a notebook to interact with the simulation. To do this, go to the notebook interface and click on New in the top right to create a new notebook.Data Capture and Visualization
With our development environment setup, let’s go ahead and write a simple script to capture data and visualize it on rerun.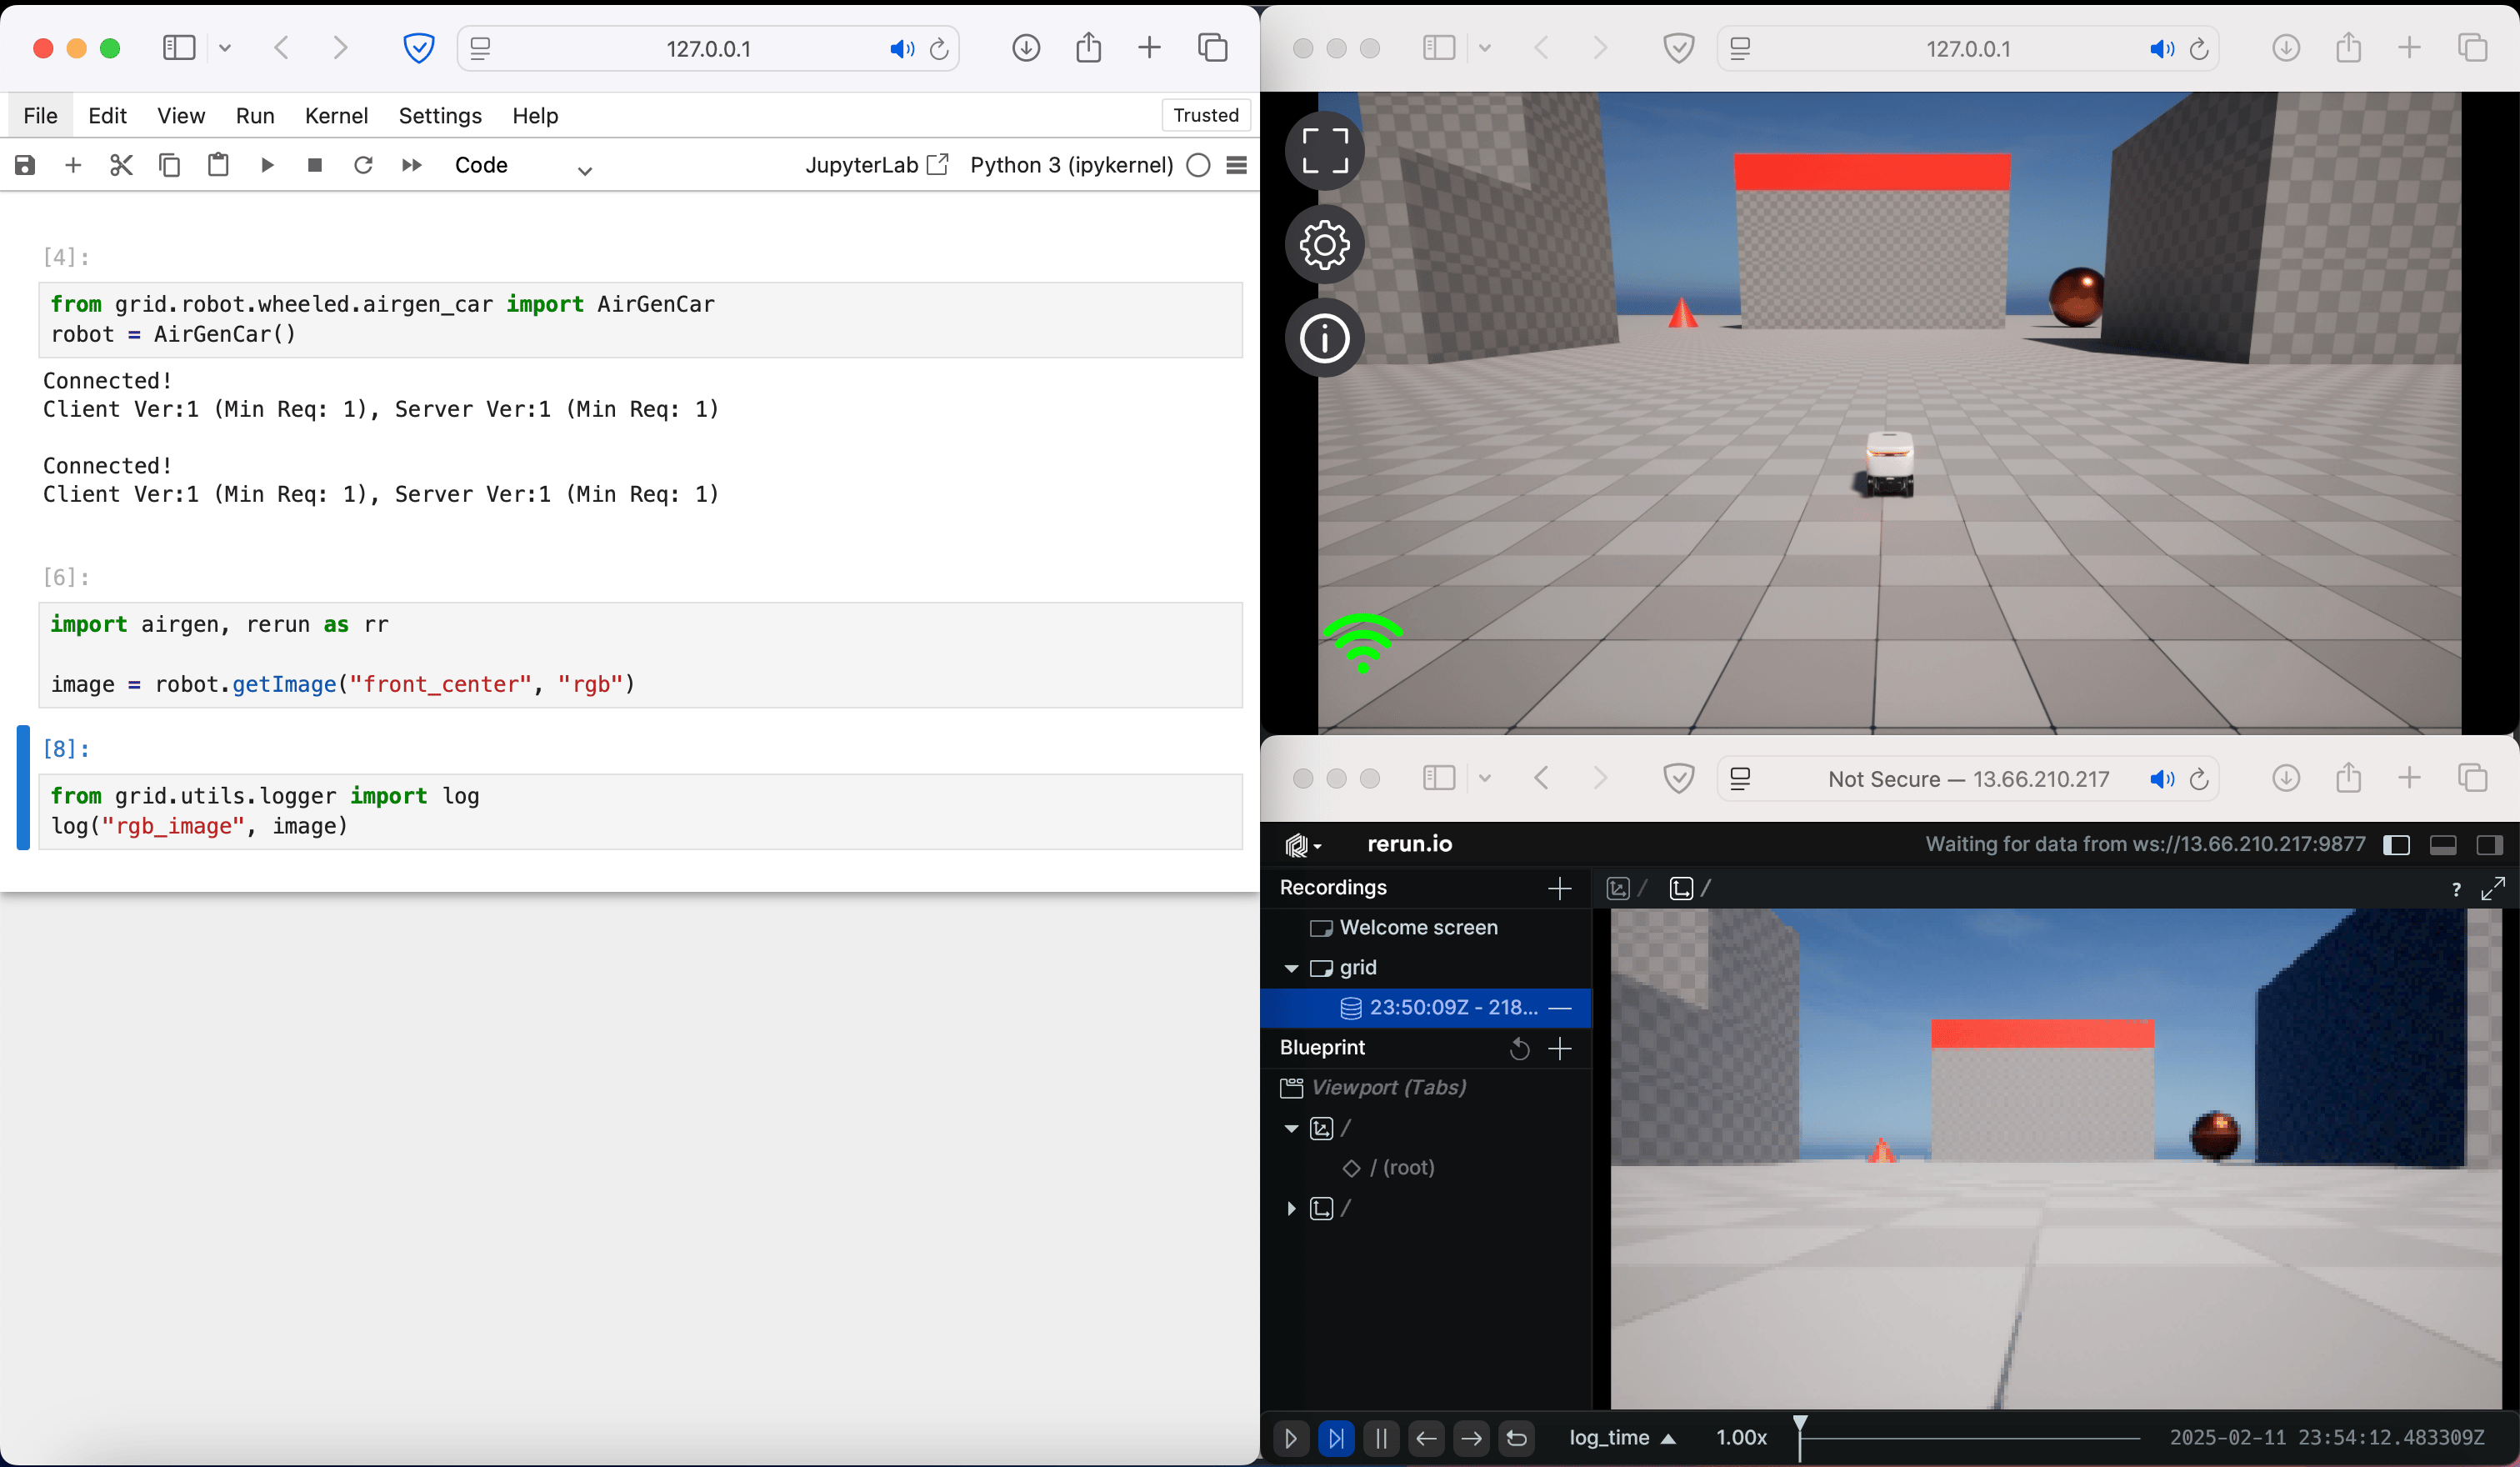
Step 7: Try to use an AI model
You can also use pre-trained AI models for computer vision, vision-language, SLAM, point tracking, and more. To use an AI model, you can import it and use it in your code. Let us try to use an object detection model to detect objects in the image captured by the robot.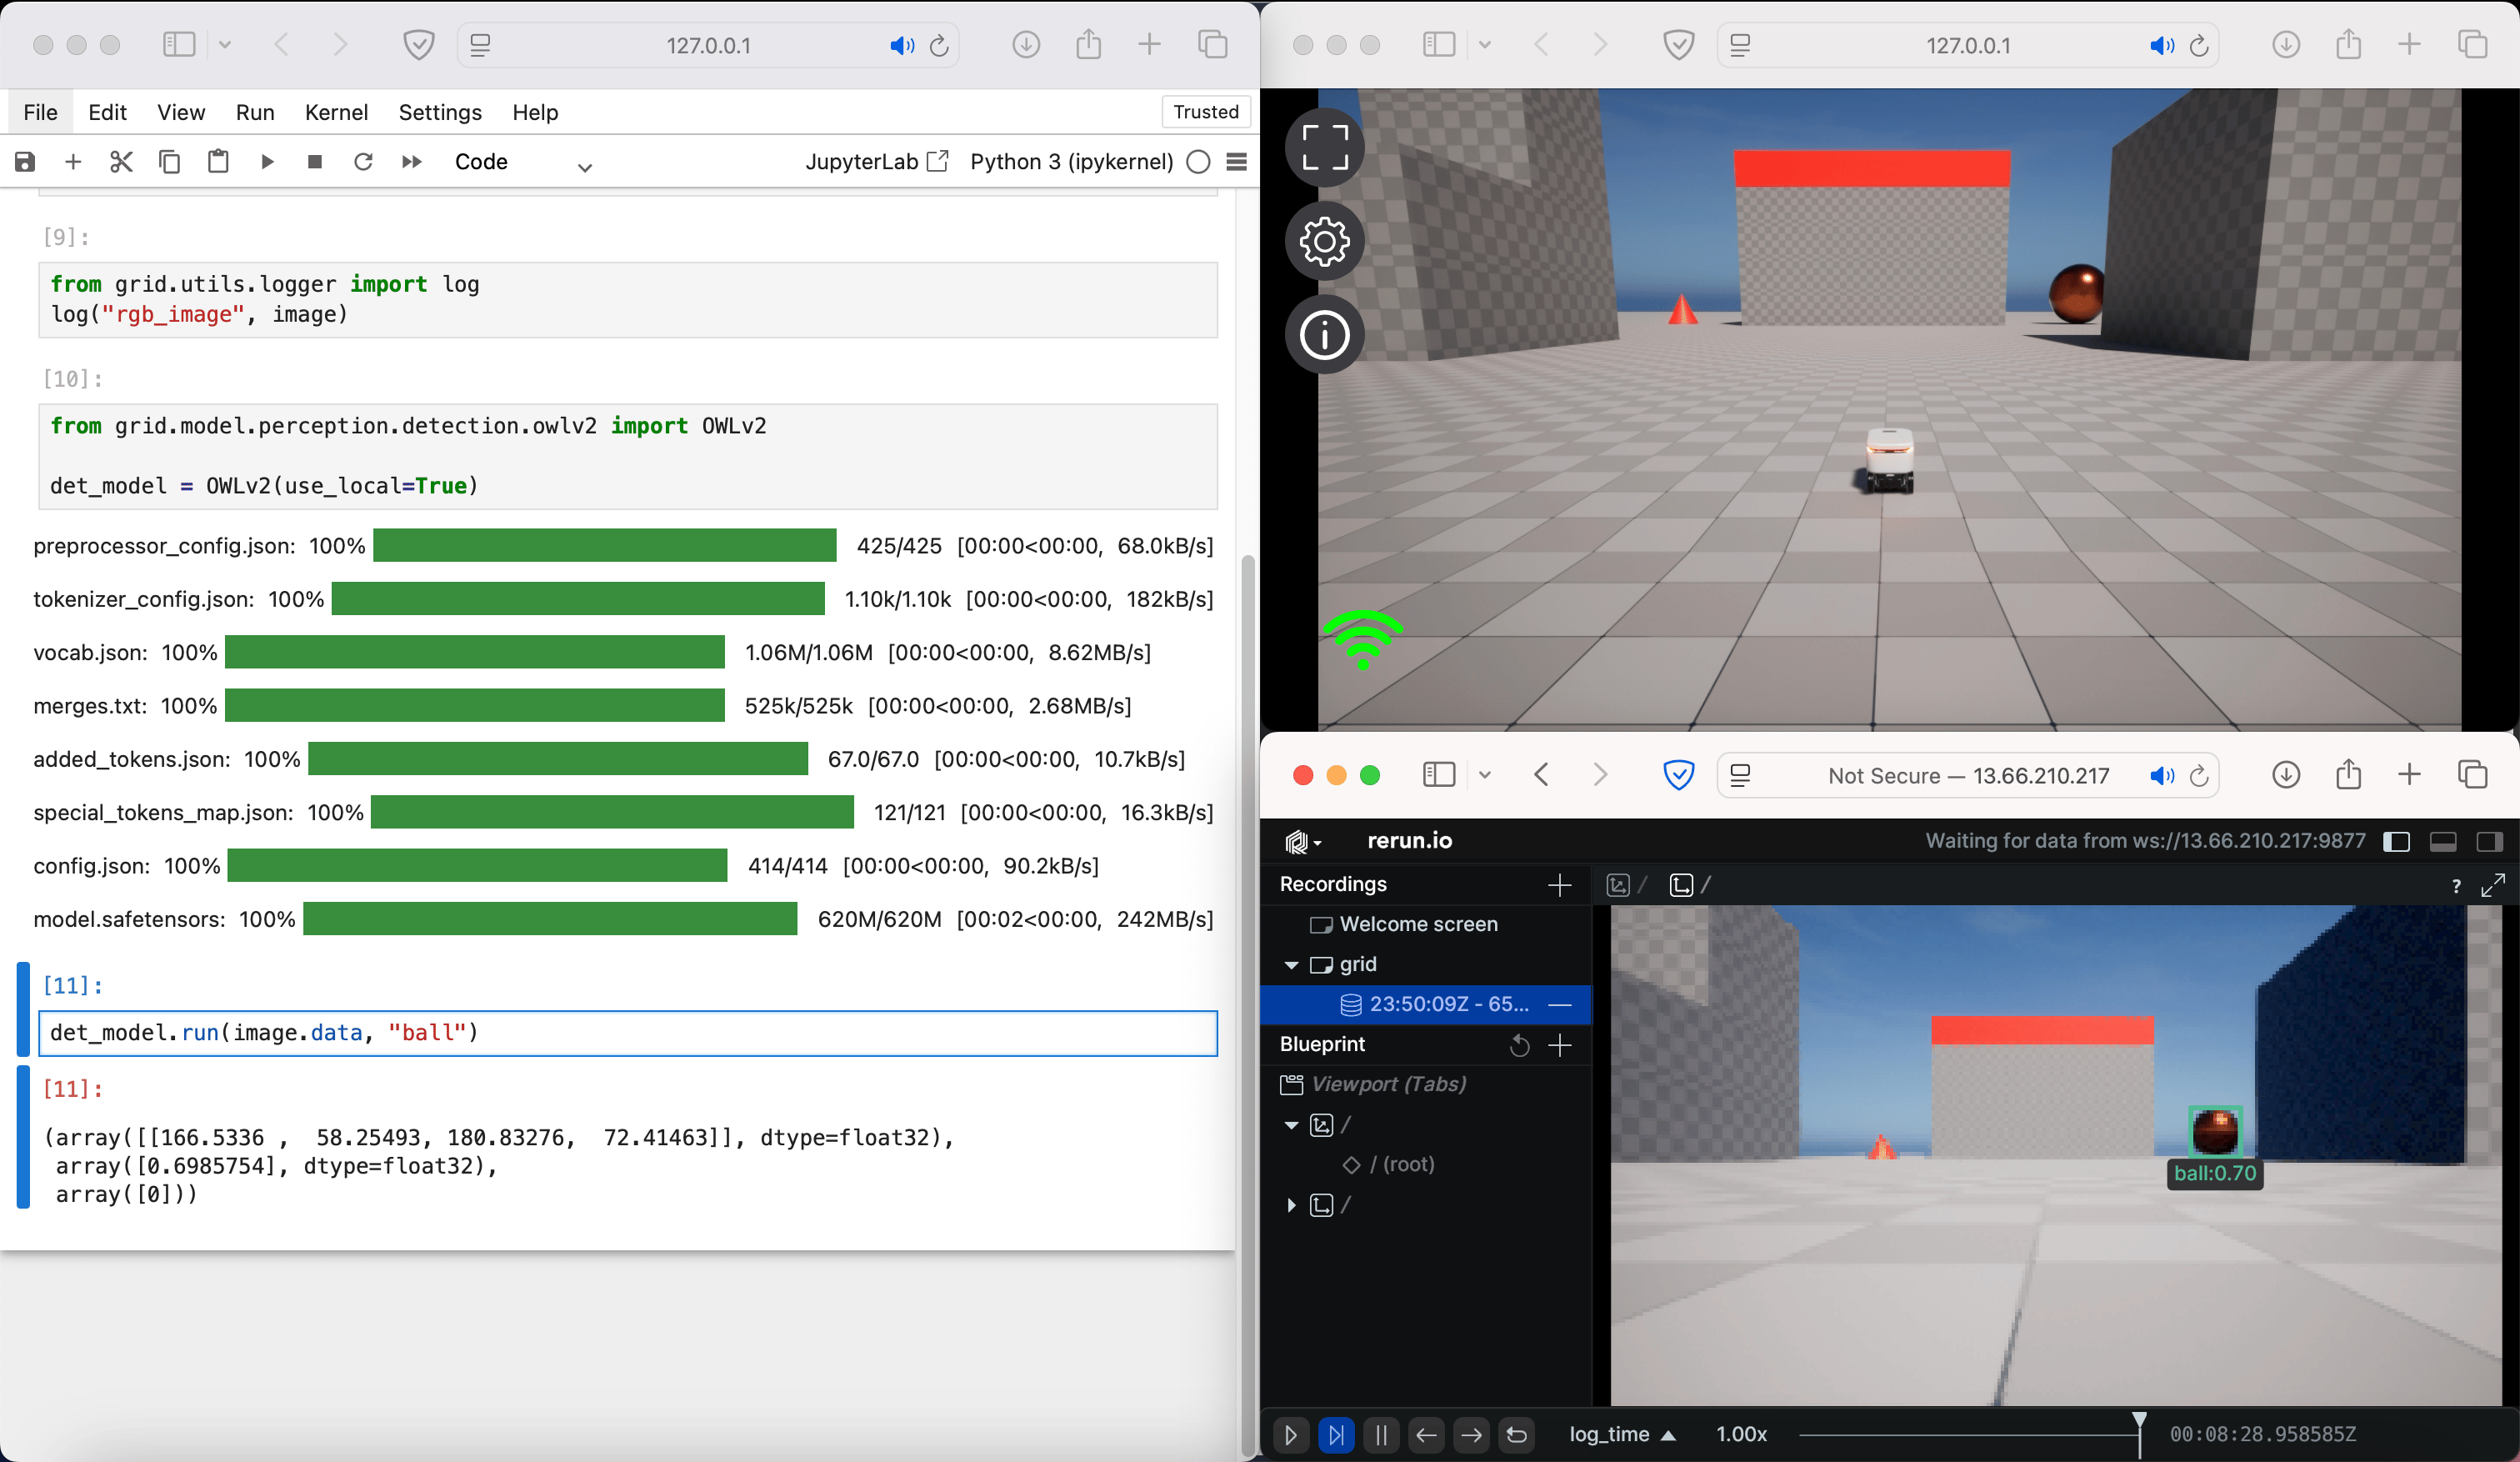
Step 7: Stop the GRID Session
Once you’re finished with the session, stop it with:Show Expected Output
Show Expected Output
hello_grid session without terminating the containers.
Step 8: Terminate the GRID Containers
Finally, to clean up your environment, terminate the containers by running:Show Expected Output
Show Expected Output