> ## Documentation Index
> Fetch the complete documentation index at: https://scaledfoundations-rebrand.mintlify.site/llms.txt
> Use this file to discover all available pages before exploring further.
# Hello GRID Enterprise
Welcome to the **Hello GRID** tutorial! This guide will walk you through setting up and running your first GRID session using the GRID Enterprise platform.
By default, all commands in this tutorial are executed on the `local` machine. If you are using a remote machine, you must specify it explicitly using the `@` syntax.
## Getting Started
In this tutorial, you will:
* Initialize the GRID Enterprise platform.
* Set up and start a GRID session using the AirGen simulator using the CLI.
* Access the simulation, and write some sample code to capture and visualize data.
* Stop and terminate the session.
***
## Setup and Initialization
### Step 0: Ensure prerequisites
Before starting this tutorial, ensure that you have GRID Enterprise installed on your local machine. If you haven't already installed GRID Enterprise, refer to the [installation guide](/grid/grid-enterprise/how-to-use/installation) for detailed instructions. After installation, please make sure your 'resource configuration' file is set up correctly - you should have received this file during onboarding.
### Step 1: Initialize the GRID Platform
The first step is to log into the GRID platform and initialize the containers. Open your terminal and run the following command:
```bash
grid
```
```text
.d8888b. 8888888b. 8888888 8888888b.
d88P Y88b 888 Y88b 888 888 "Y88b
888 888 888 888 888 888 888
888 888 d88P 888 888 888
888 88888 8888888P" 888 888 888
888 888 888 T88b 888 888 888
Y88b d88P 888 T88b 888 888 .d88P
"Y8888P88 888 T88b 8888888 8888888P"
General Robot Intelligence Development Platform - Enterprise version
Developed by General Robotics, Inc. (c) 2025
Loading resource configuration from /home/grid/.grid/resource_config.json...
Started container server on 0.0.0.0:8060
Samples currently at /home/grid/.grid/samples
Type 'help' or 'license' for more info.
GRID #
```
You can sign in using the provided credentials. Login using the command `login` and then initialize the containers using `init`.
```text
GRID # login
Logging in to General Robotics - GRID registry...Login successful!
GRID # init
Please choose the simulator you wish to use:
1: airgen
2: isaac
Enter your choice: 1
Starting GRID containers for airgen on local...
Spinning up containers with profile airgen...
WARN[0000] The "OPENAI_API_KEY" variable is not set. Defaulting to a blank string.
[+] Running 3/3
✔ Container grid_core Started0.5s
✔ Container grid_sim_airgen Started0.5s
✔ Container grid_server Started0.6s
Checking container statuses...
grid_core: ✓
grid_server: ✓
grid_sim_airgen: ✓
Containers are active.
Setting up assets... Done.
```
This command spins up the necessary containers on your local machine, preparing the environment for your session.
If the containers do not already exist, the images will be downloaded, and the containers will be started. Please note that this process may take a few minutes.
***
## Starting Your First Session
### Step 2: Start Your First GRID Session
Let’s now start a session that runs a pre-configured simulation. Execute the following command in your terminal:
```bash
session start hello_grid
```
```text
No session configuration was passed. Using a sample configuration from ~/.grid/sample_session_config_airgen.json...
2025-02-11 23:33:59,542 - INFO - Initializing session
Downloading assets...
File already exists at destination. Skipping download.
2025-02-11 23:33:59,774 - INFO - HTTP Request: POST http://127.0.0.1:8000/start_session "HTTP/1.1 200 OK"
response: Initializing session...
response: Downloading content..
response_end: Session has been started successfully
Session started successfully.
2025-02-11 23:34:10,467 - INFO - Session started successfully.
```
This starts a session named `hello_grid`. Because we did not explicitly specify a session configuration, GRID will use a sample configuration file to start the session. As the console output shows, this configuration file resides at ` ~/.grid/sample_session_config_airgen.json`.
### Step 3: Open the Simulation
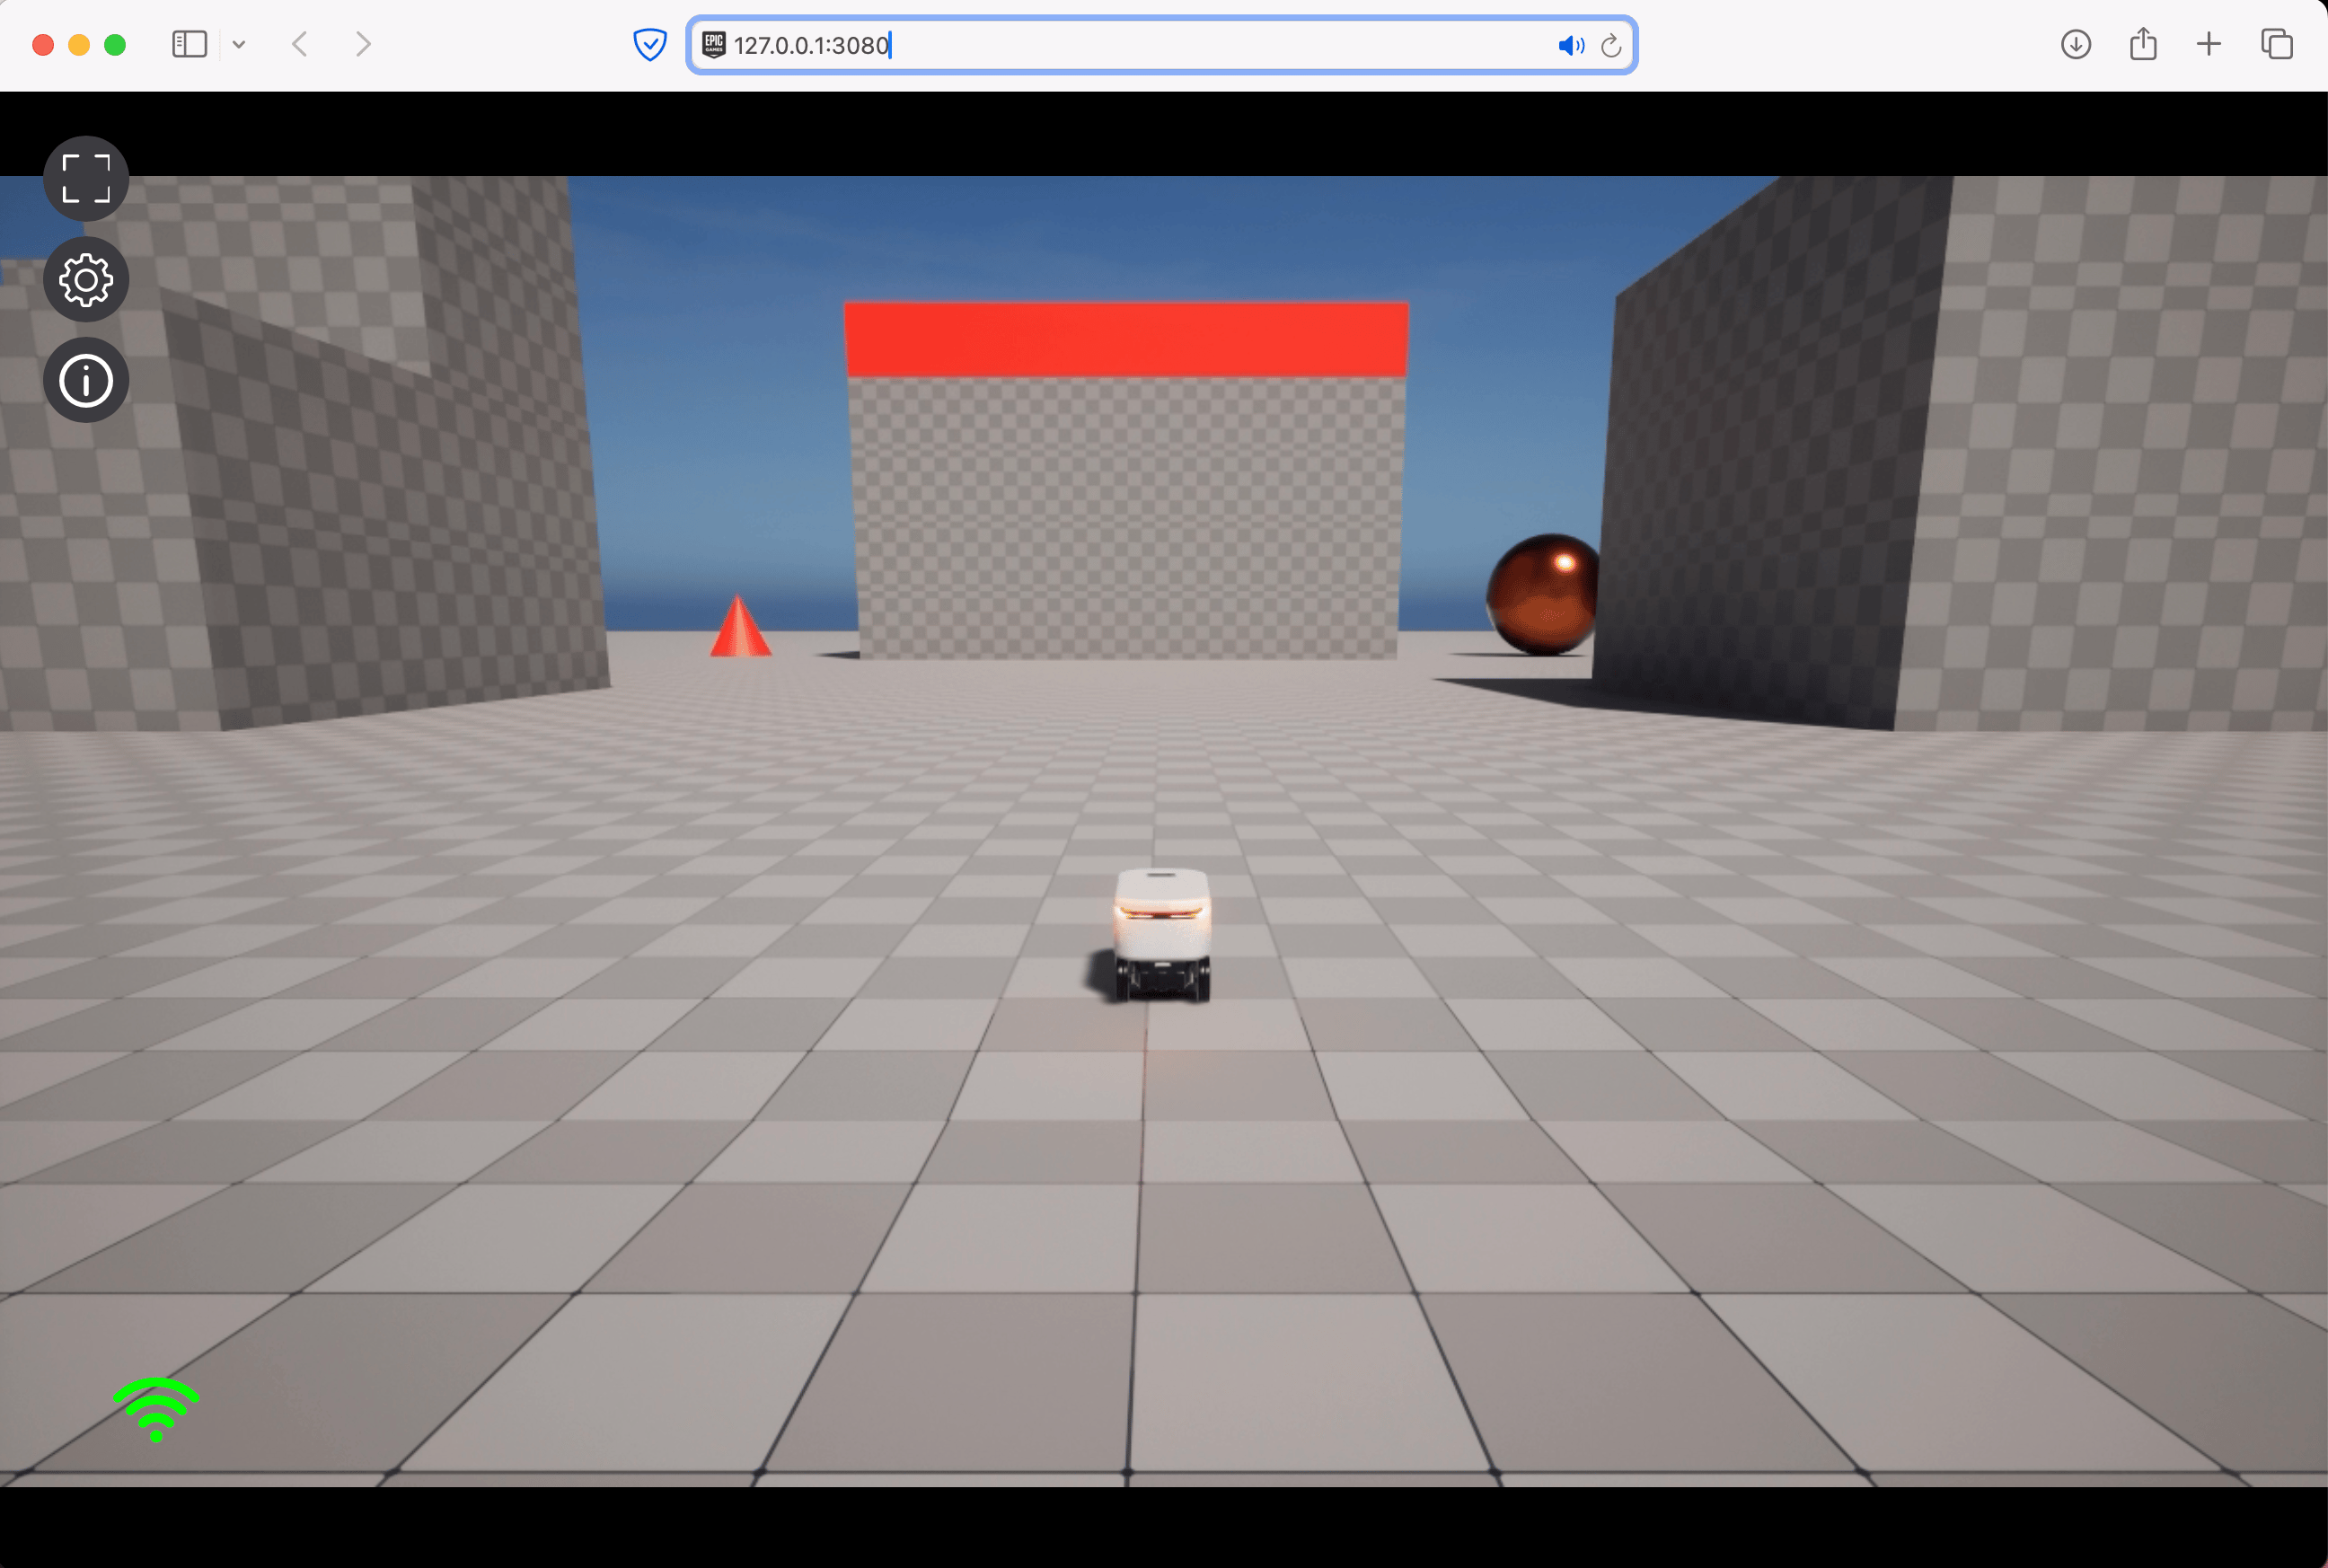
After the session starts, open the simulation in your browser with the `open` command:
```bash
open sim @local
```
```text
Opening sim for session hello_grid in default browser at http://127.0.0.1:3080
```
 ### Step 4: Open the Notebook Interface
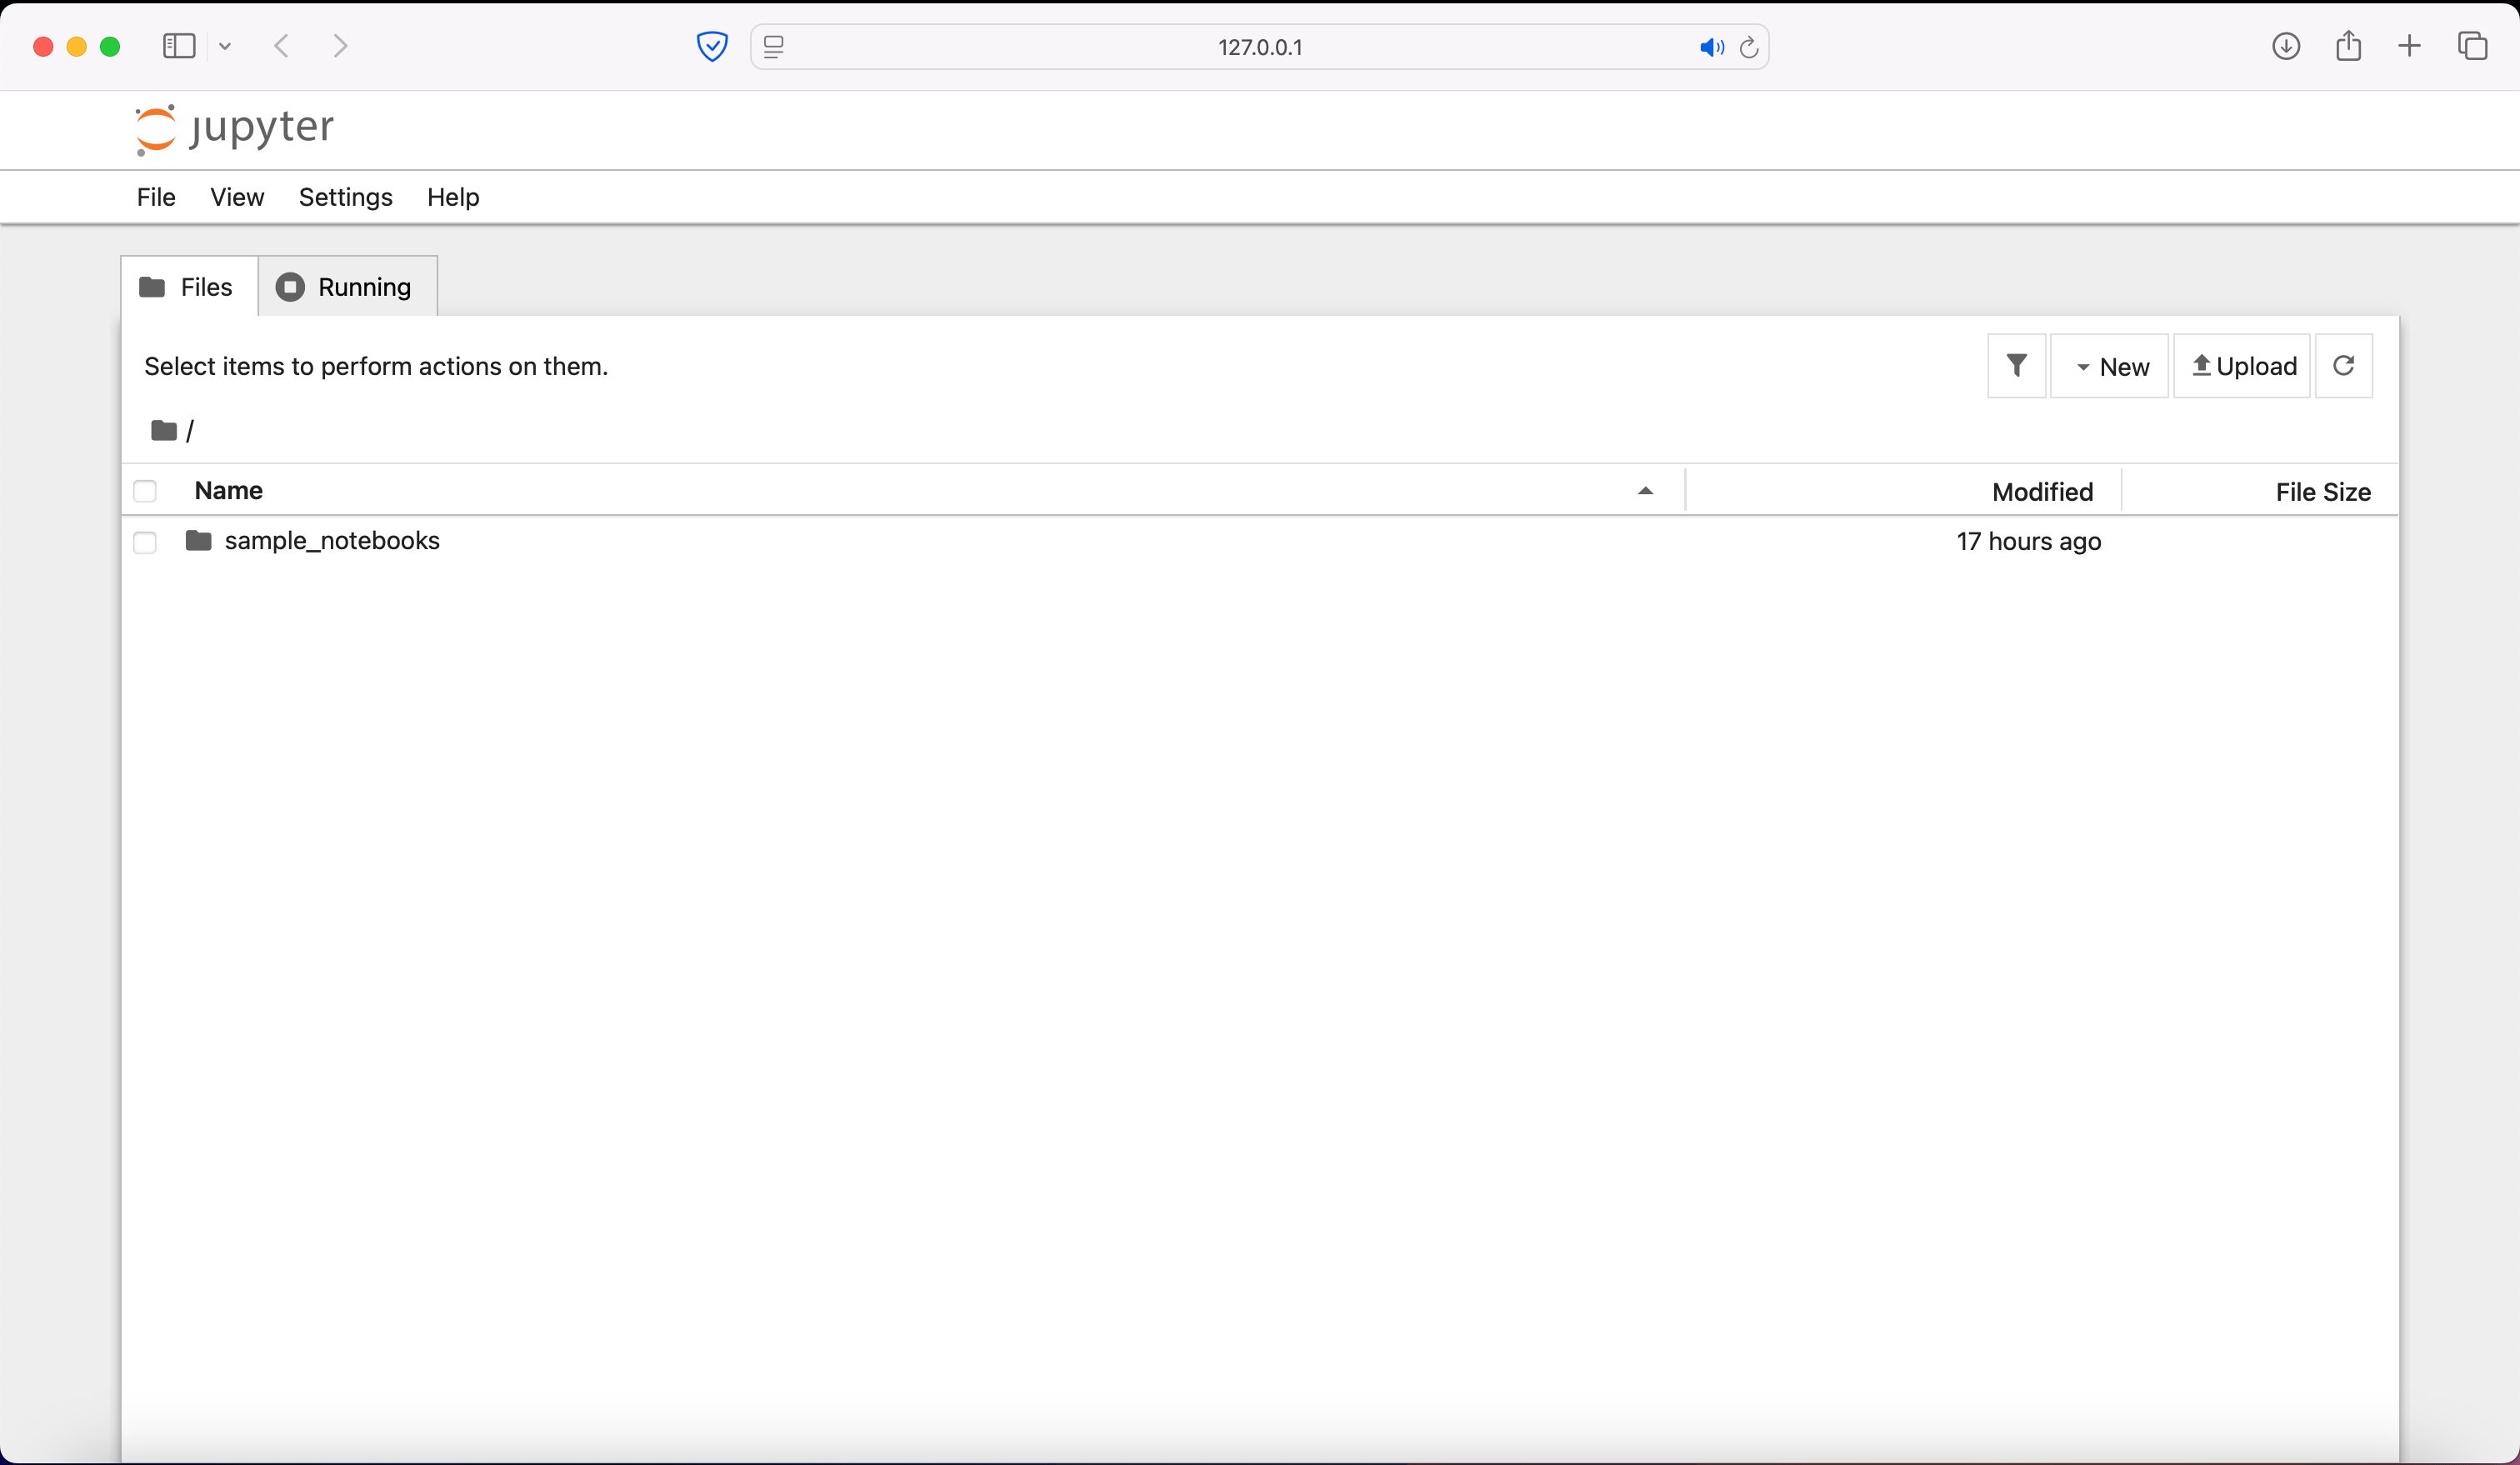
You can also open the notebook interface for the session with:
```bash
open nb @local
```
```text
Opening nb for session hello_grid in default browser at http://127.0.0.1:8890
```
### Step 4: Open the Notebook Interface
You can also open the notebook interface for the session with:
```bash
open nb @local
```
```text
Opening nb for session hello_grid in default browser at http://127.0.0.1:8890
```
 ***
### Step 5: Open Visualization
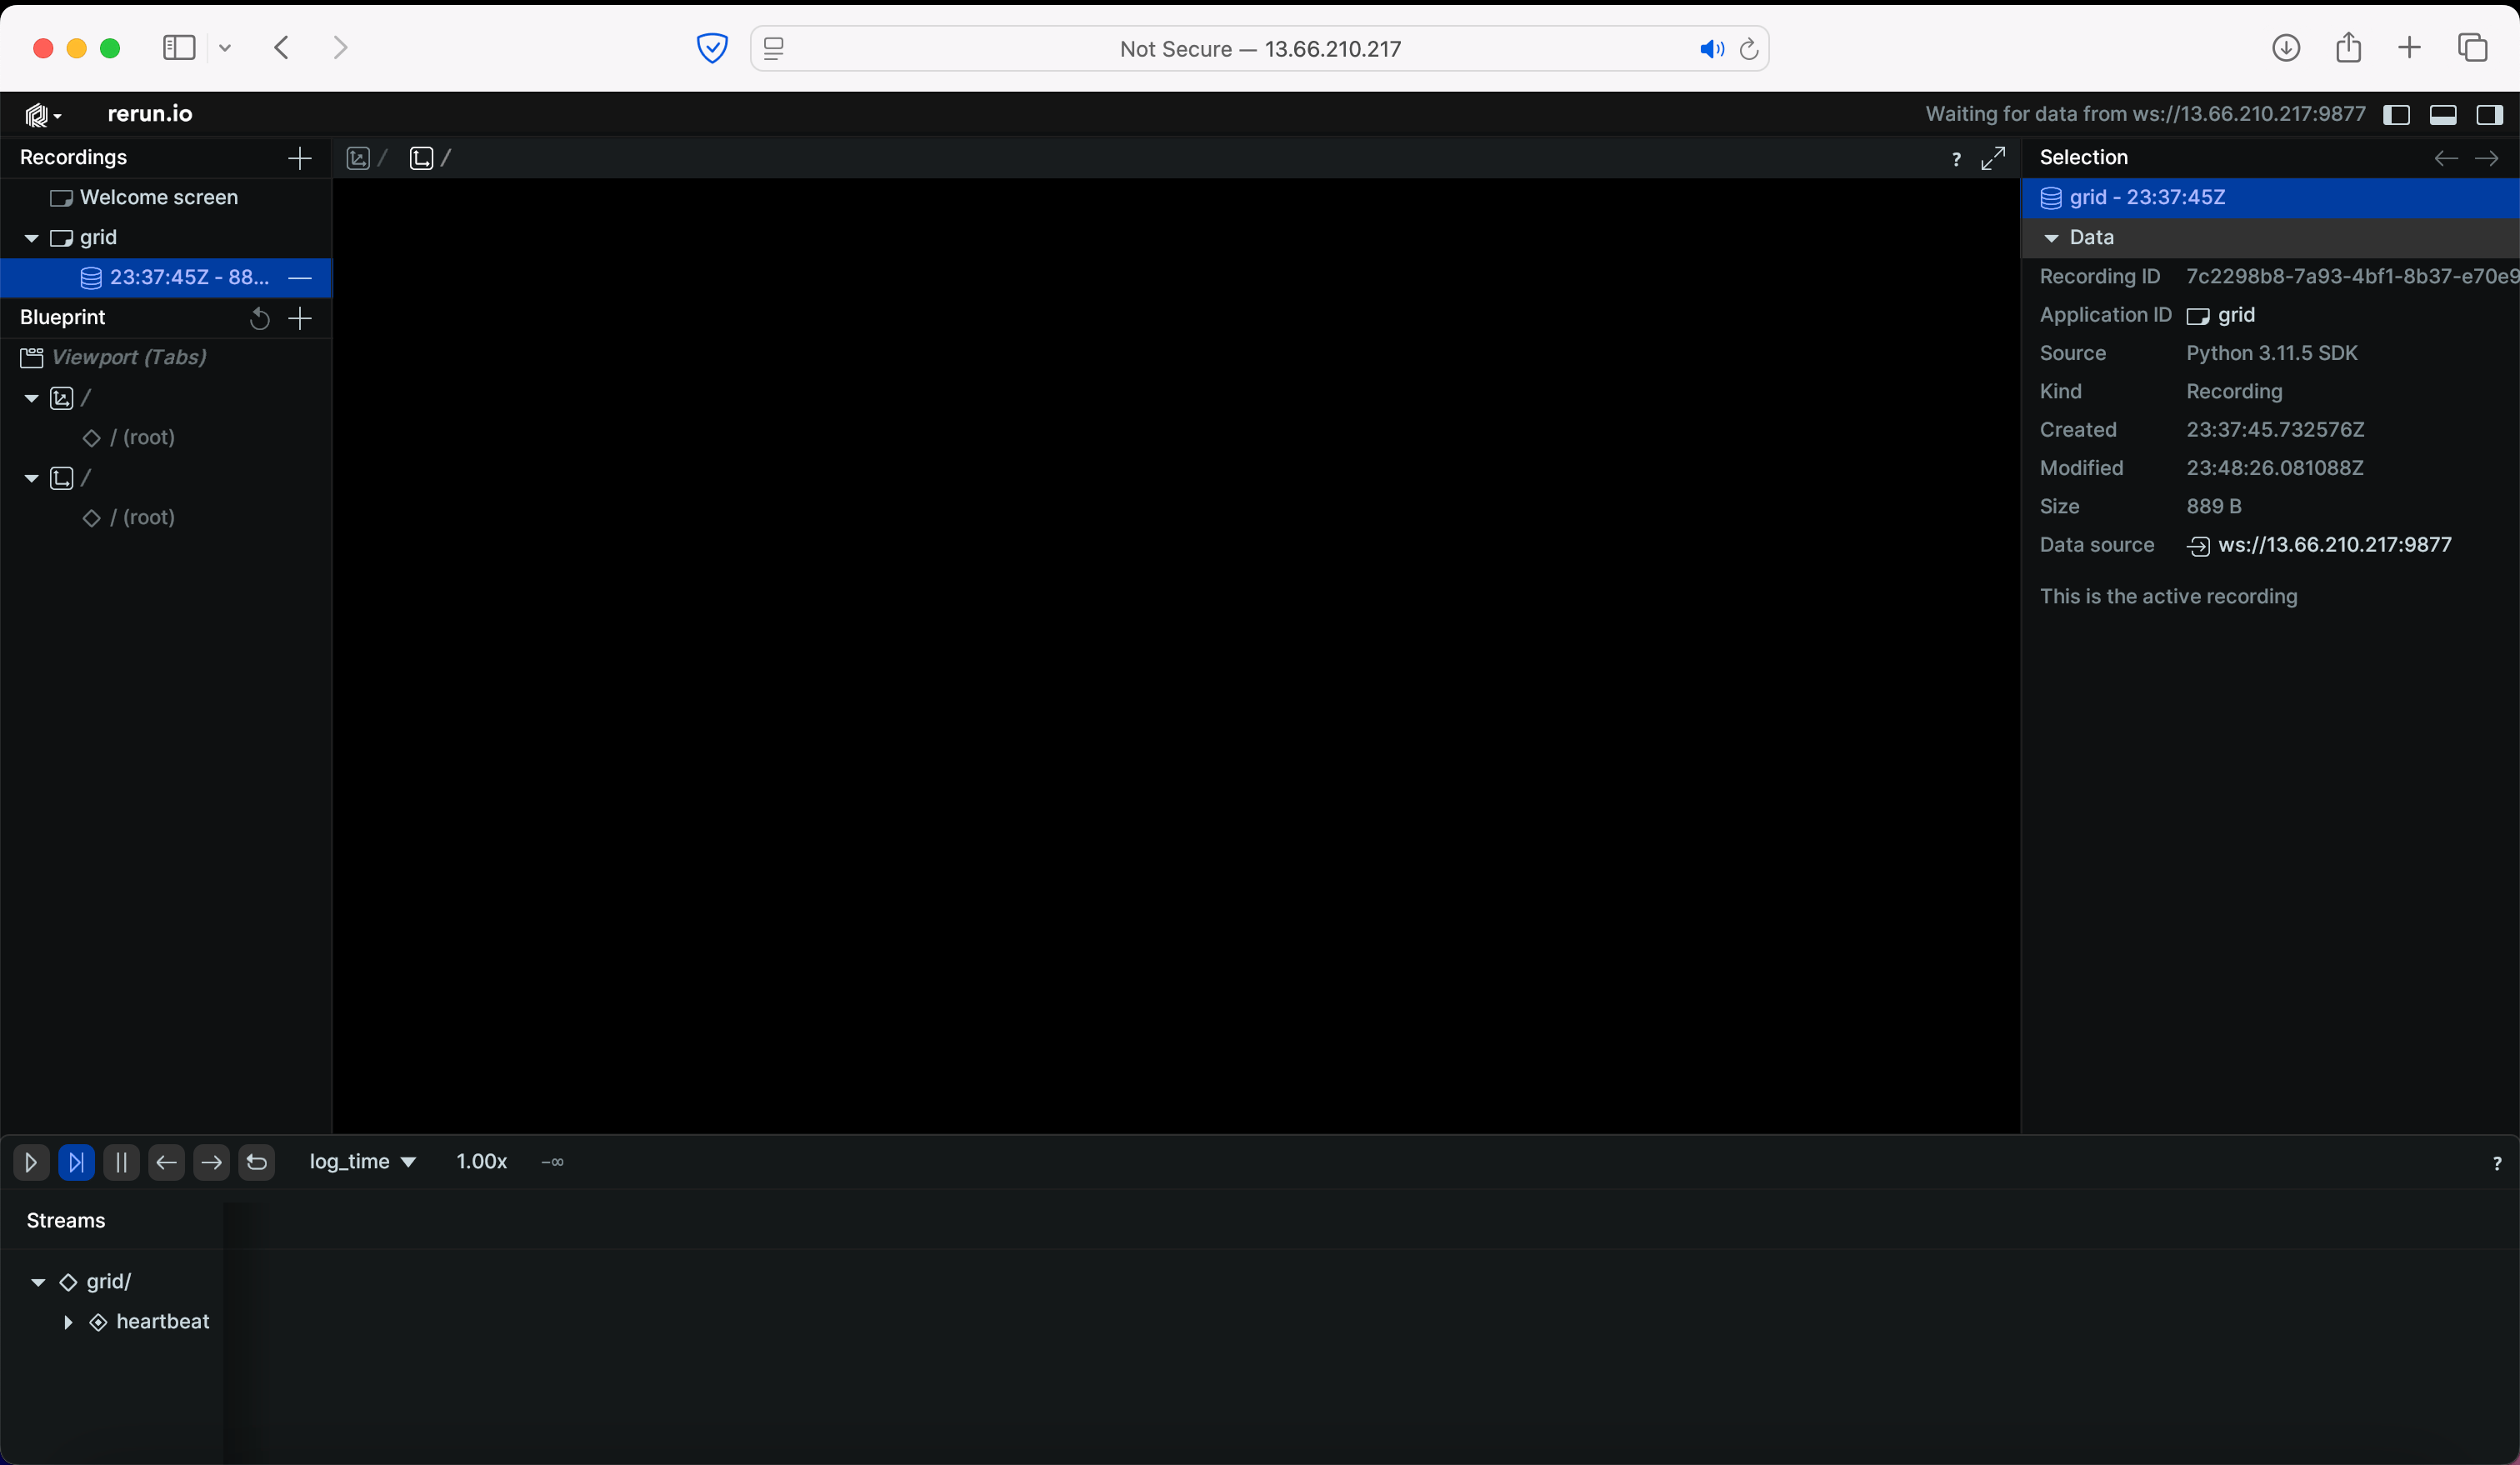
Similarly, to visualize the data using rerun, use the following command:
```bash
open hello_grid viz
```
```text
Opening viz for session hello_grid in default browser at http://127.0.0.1:9090/?url=ws://127.0.0.1:9877
```
***
### Step 5: Open Visualization
Similarly, to visualize the data using rerun, use the following command:
```bash
open hello_grid viz
```
```text
Opening viz for session hello_grid in default browser at http://127.0.0.1:9090/?url=ws://127.0.0.1:9877
```
 ### Step 6: List Active Sessions
To check all active sessions, use the following command:
```bash
session list
```
```text
grid> session list
2024-09-10 17:10:53,338 - INFO - HTTP Request: GET http://localhost:8000/is_idle?session_id=hello_grid "HTTP/1.1 200 OK"
+--------------+-----------+----------------------------------+
| Session ID | Node IP | Last Active Time |
+==============+===========+==================================+
| hello_grid | localhost | 2024-09-10T23:42:51.674976+00:00 |
+--------------+-----------+----------------------------------+
```
## Create a notebook
Now that we have the session running, let's create a notebook to interact with the simulation. To do this, go to the notebook interface and click on New in the top right to create a new notebook.
## Data Capture and Visualization
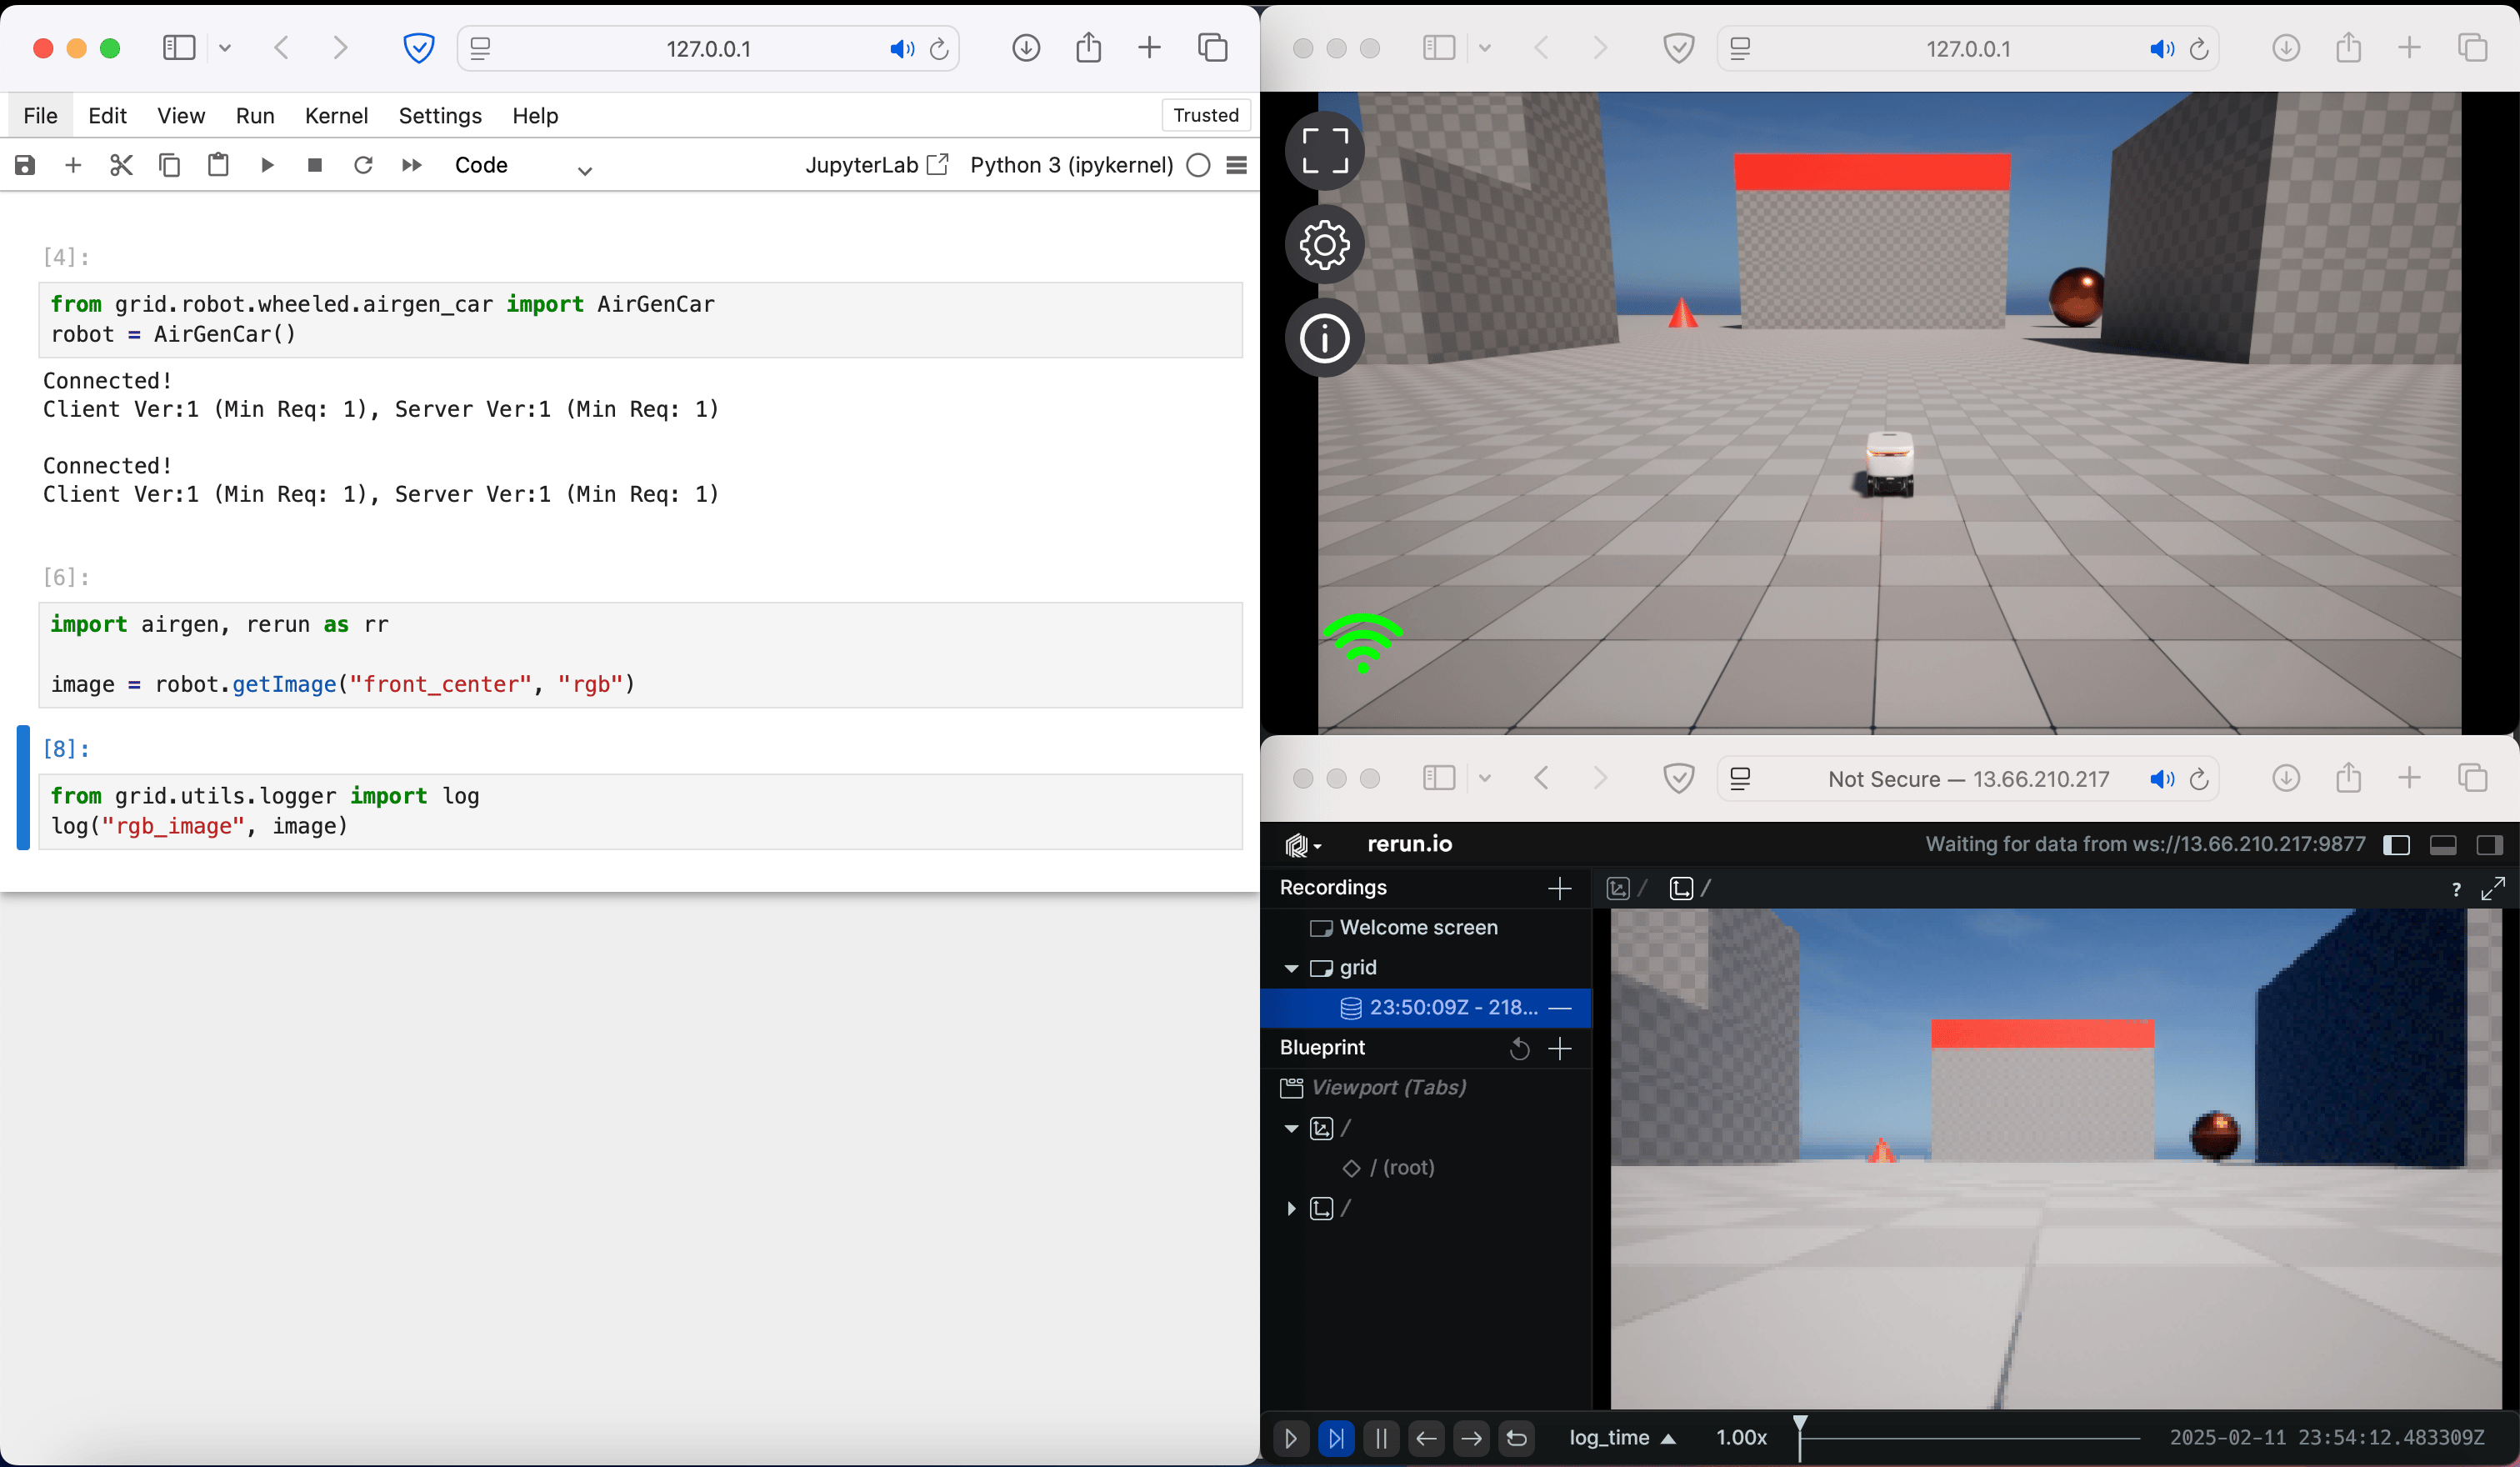
With our development environment setup, let's go ahead and write a simple script to capture data and visualize it on rerun.
```python
from grid.robot.wheeled.airgen_car import AirGenCar
robot = AirGenCar()
import airgen, rerun as rr
image = robot.getImage("front_center", "rgb")
from grid.utils.logger import log
log("rgb_image", image)
```
The expected output of the above code would be the image captured by the drone's front center camera and displayed on rerun.
### Step 6: List Active Sessions
To check all active sessions, use the following command:
```bash
session list
```
```text
grid> session list
2024-09-10 17:10:53,338 - INFO - HTTP Request: GET http://localhost:8000/is_idle?session_id=hello_grid "HTTP/1.1 200 OK"
+--------------+-----------+----------------------------------+
| Session ID | Node IP | Last Active Time |
+==============+===========+==================================+
| hello_grid | localhost | 2024-09-10T23:42:51.674976+00:00 |
+--------------+-----------+----------------------------------+
```
## Create a notebook
Now that we have the session running, let's create a notebook to interact with the simulation. To do this, go to the notebook interface and click on New in the top right to create a new notebook.
## Data Capture and Visualization
With our development environment setup, let's go ahead and write a simple script to capture data and visualize it on rerun.
```python
from grid.robot.wheeled.airgen_car import AirGenCar
robot = AirGenCar()
import airgen, rerun as rr
image = robot.getImage("front_center", "rgb")
from grid.utils.logger import log
log("rgb_image", image)
```
The expected output of the above code would be the image captured by the drone's front center camera and displayed on rerun.
 ### Step 7: Try to use an AI model
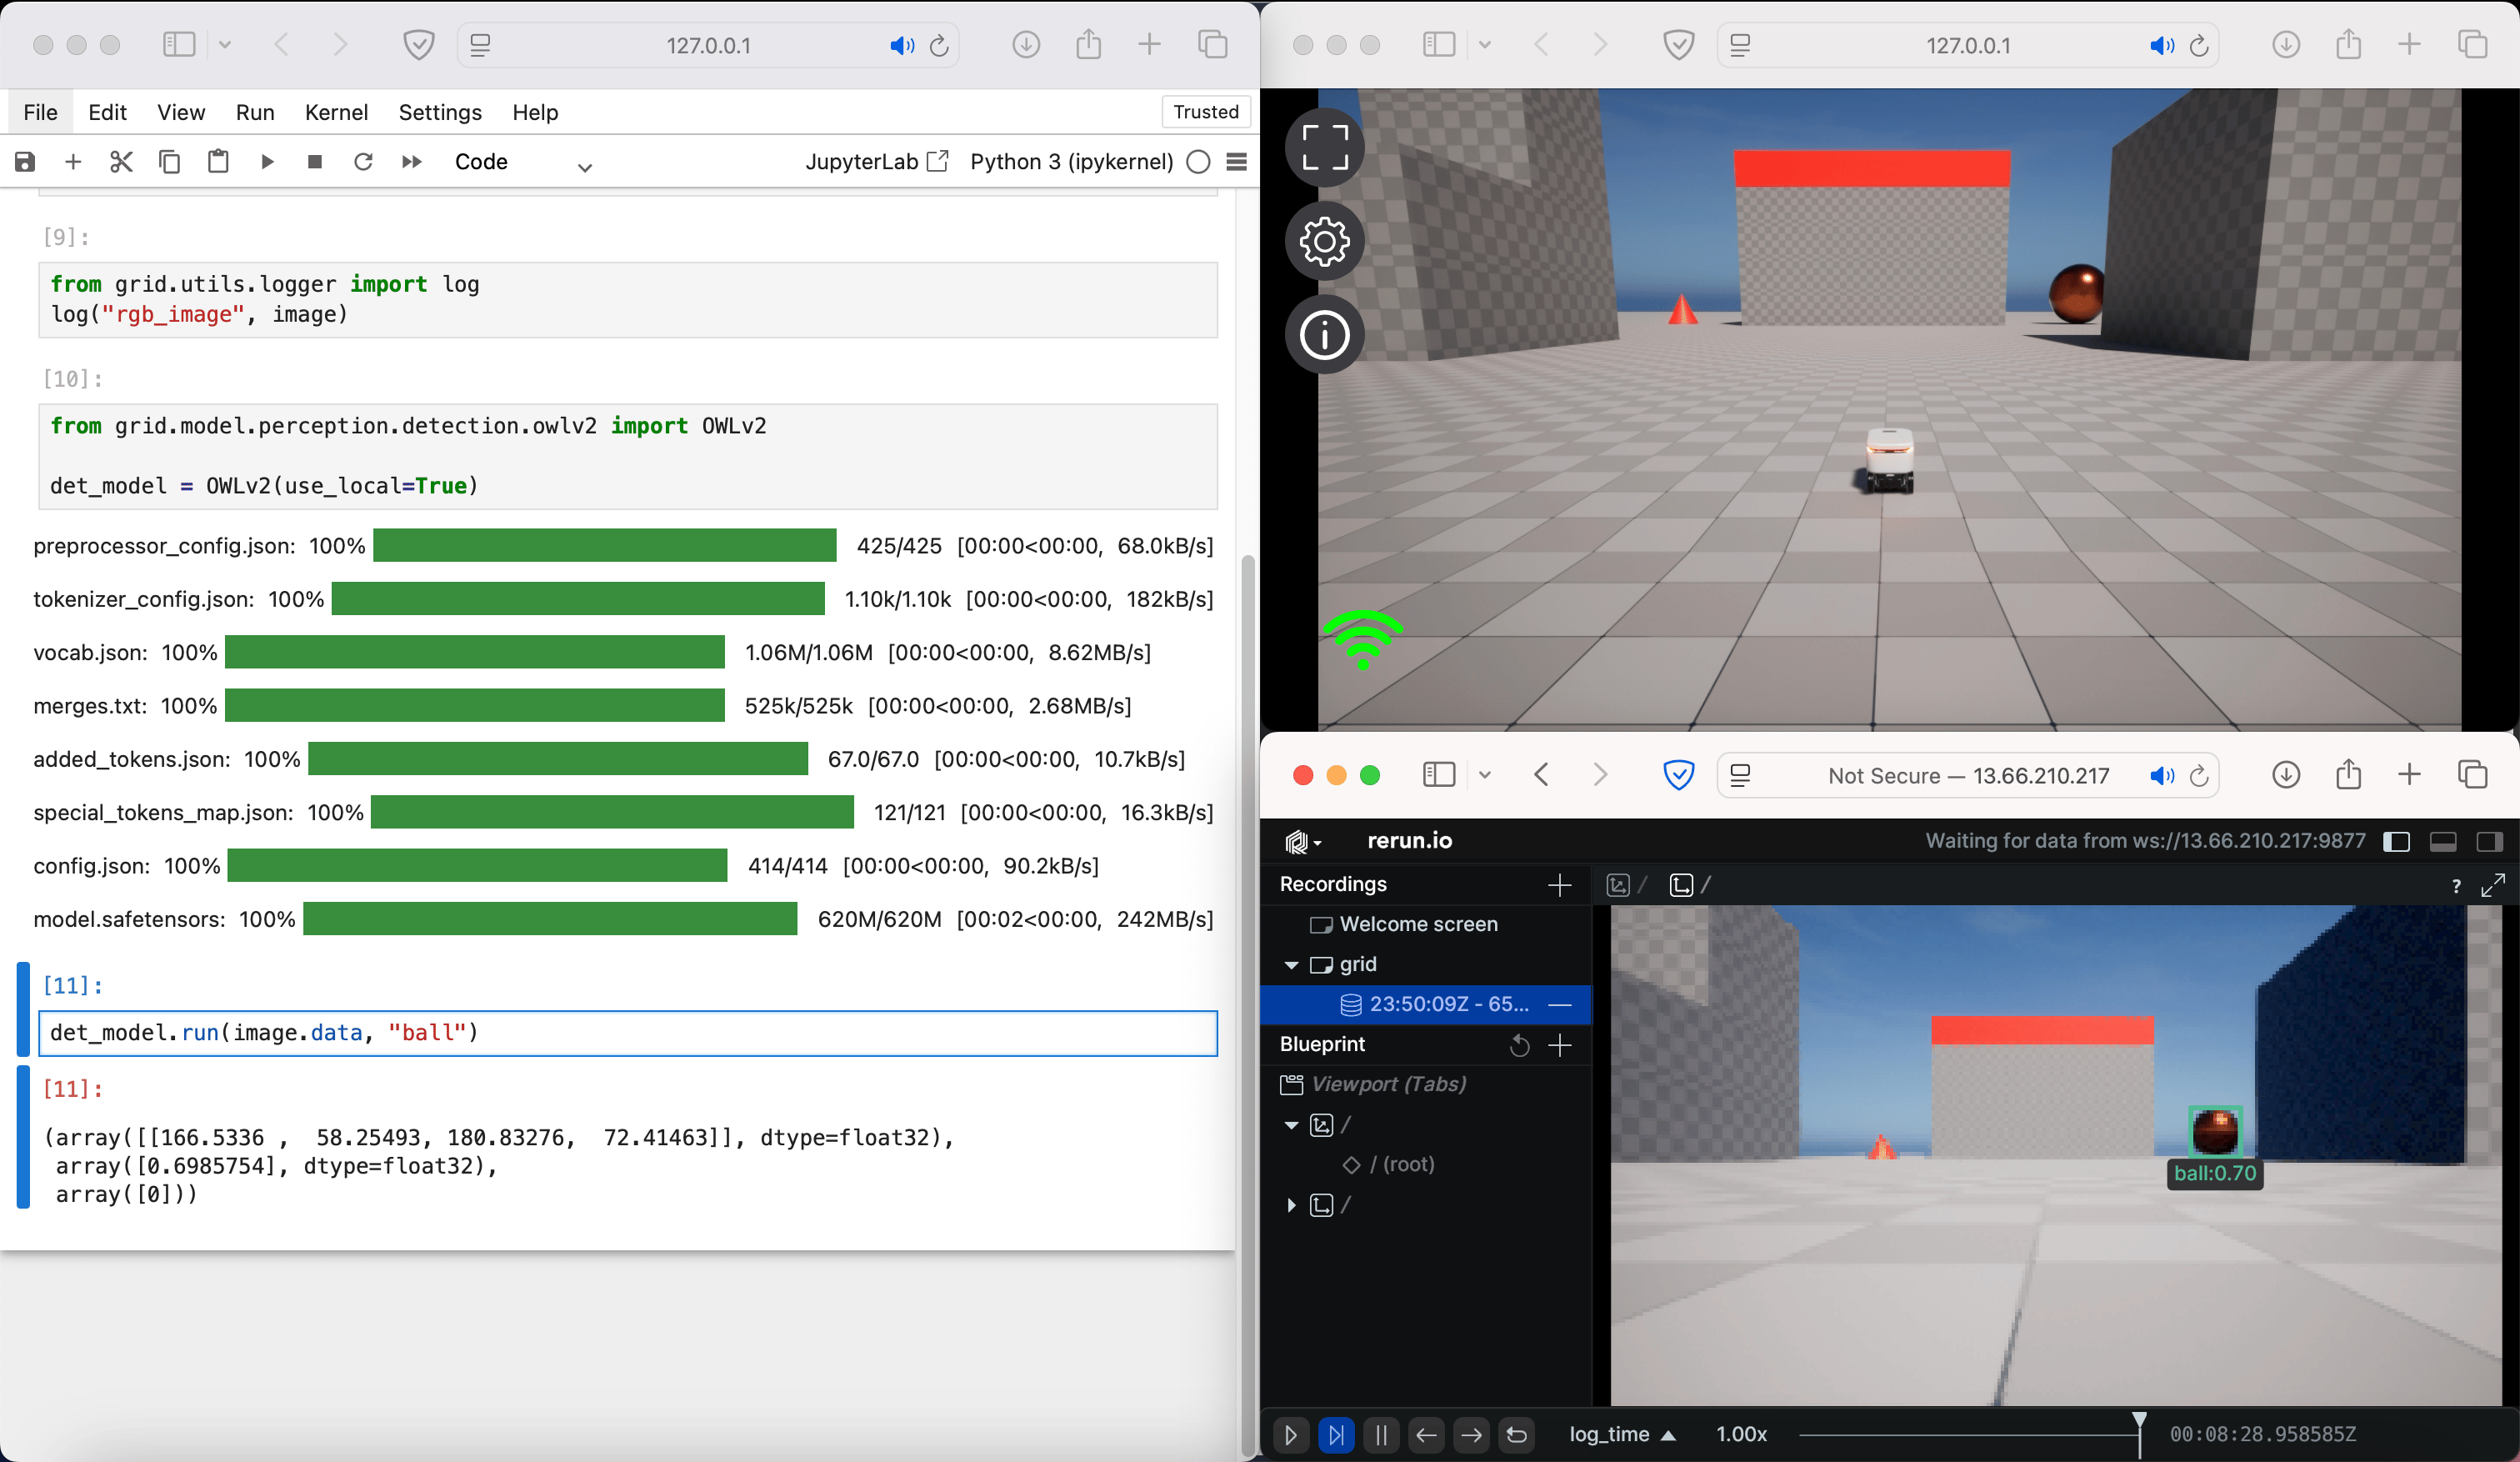
You can also use pre-trained AI models for computer vision, vision-language, SLAM, point tracking, and more. To use an AI model, you can import it and use it in your code. Let us try to use an object detection model to detect objects in the image captured by the robot.
```python
from grid.model.perception.detection.owlv2 import OWLv2
det_model = OWLv2(use_local=True)
det_model.run(image.data, "ball")
```
### Step 7: Try to use an AI model
You can also use pre-trained AI models for computer vision, vision-language, SLAM, point tracking, and more. To use an AI model, you can import it and use it in your code. Let us try to use an object detection model to detect objects in the image captured by the robot.
```python
from grid.model.perception.detection.owlv2 import OWLv2
det_model = OWLv2(use_local=True)
det_model.run(image.data, "ball")
```
 ### Step 7: Stop the GRID Session
Once you’re finished with the session, stop it with:
```bash
GRID # session stop hello_grid
```
```text
Stopping session hello_grid ...
2025-02-12 00:09:49,354 - INFO - Terminating session
2025-02-12 00:09:53,568 - INFO - HTTP Request: POST http://127.0.0.1:8000/terminate_session "HTTP/1.1 200 OK"
Session stopped successfully.
2025-02-12 00:09:53,569 - INFO - Session stopped successfully.
```
This will stop the `hello_grid` session without terminating the containers.
### Step 8: Terminate the GRID Containers
Finally, to clean up your environment, terminate the containers by running:
```bash
GRID # terminate
```
```text
grid> terminate
Stopping containers using docker-compose...
[+] Running 3/3
✔ Container grid_sim_airgen Removed10.2s
✔ Container grid_server Removed10.2s
✔ Container grid_core Removed10.5s
Checking container statuses...
grid_core: ❌
grid_server: ❌
grid_sim_airgen: ❌
Containers stopped successfully.
```
This stops all running containers on your local machine.
#### Congratulations!
You've completed the **Hello GRID** tutorial. You’ve successfully logged in, started a session, opened a simulation, and cleaned up your environment. This is the beginning of what you can achieve with GRID Enterprise. Explore the advanced features like running sessions on remote machines, mounting custom storage, and integrating your own AI models.
***
## Next Steps
* Now that we have successfully set up the development environment, you can explore the [AirGen](/simulation/airgen/overview), [Isaac](/simulation/isaac/overview), and [AI Models](#AIModels) sections to dive deeper into the capabilities of the GRID Enterprise platform.
### Step 7: Stop the GRID Session
Once you’re finished with the session, stop it with:
```bash
GRID # session stop hello_grid
```
```text
Stopping session hello_grid ...
2025-02-12 00:09:49,354 - INFO - Terminating session
2025-02-12 00:09:53,568 - INFO - HTTP Request: POST http://127.0.0.1:8000/terminate_session "HTTP/1.1 200 OK"
Session stopped successfully.
2025-02-12 00:09:53,569 - INFO - Session stopped successfully.
```
This will stop the `hello_grid` session without terminating the containers.
### Step 8: Terminate the GRID Containers
Finally, to clean up your environment, terminate the containers by running:
```bash
GRID # terminate
```
```text
grid> terminate
Stopping containers using docker-compose...
[+] Running 3/3
✔ Container grid_sim_airgen Removed10.2s
✔ Container grid_server Removed10.2s
✔ Container grid_core Removed10.5s
Checking container statuses...
grid_core: ❌
grid_server: ❌
grid_sim_airgen: ❌
Containers stopped successfully.
```
This stops all running containers on your local machine.
#### Congratulations!
You've completed the **Hello GRID** tutorial. You’ve successfully logged in, started a session, opened a simulation, and cleaned up your environment. This is the beginning of what you can achieve with GRID Enterprise. Explore the advanced features like running sessions on remote machines, mounting custom storage, and integrating your own AI models.
***
## Next Steps
* Now that we have successfully set up the development environment, you can explore the [AirGen](/simulation/airgen/overview), [Isaac](/simulation/isaac/overview), and [AI Models](#AIModels) sections to dive deeper into the capabilities of the GRID Enterprise platform.